In my old age, I have finally joined the 21st Century.
I have upgraded to a
Sony Xperia 5 III Smartphone
and some health exercise accessories. It is quite
a step up from my 'bog standard' Samsung mobile which I have used for
making/receiving calls and texts during the last 9 years.
The Sony Xperia 5 IIIcamera has a 12Mpixel sensor; it's Zeiss lenses have
a field of view of 16mm-105mm, it shoots DNG files as well as
Jpegs and the DNGs can be edited using Lightroom software.
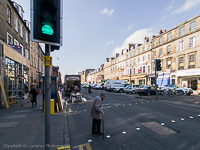
The Sony Xperia 5 III Smartphone produces reasonable images. I have it set-up to
shoot camera jpegs in HDR mode and it makes a good job of blending dark
foregrounds with bright skies. The wider 16mm and 24mm lens images
usually have slanted edge verticals so I tweak them in Lightroom to
straighten them for a more pleasing image.
Sony Official Video
-
Phone Protection & Wrist Strap
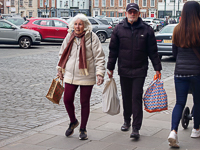
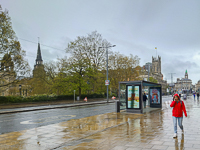
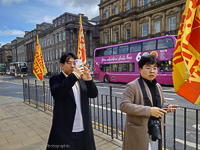
As I planned to use the Sony Smartphone for Street Photography when having lunch in town, I decided to purchase the following protection and a wrist strap from Amazon -
Apps
on the Phone
When I received the
Sony Xperia 1 III Smartphone, I made the following App changes,
to bring the phone into line with my Microsoft Windows 10 Laptop
-
Sony Xperia 5 III Smartphone
- Ease of Use
I am not a fan of using a screen to
compose my photography images, I prefer a viewfinder but now
that I have a smartphone, I must start wearing my reading
glasses, especially, when using the Photography Pro App and
viewing the image screen.
I read the
Sony Online Manual which is
reasonable and enough to get a 'newbie' to smart phones started.
As a photographer requiring
a camera to always be in my
pocket, I was drawn to the Sony
Photography Pro Application which
compliments the Xperia camera with a graphical interface for Auto and Manual
photography. See introduction video below -
Photography Pro
The camera
Photography Pro App is a breeze to configure for your own use as
a photographer. It has a permanent on screen menu for manual
control and a separate MENU button to access and setup the main
parameters. I use the
PRO
camera mode rather than the BASIC mode. I have my phone set to
automatically rotate the screen depending on whether it is in
portrait or landscape mode BUT in any case, apart from the image
capture screen, the Photography Pro App always remains in
landscape mode, no matter the position of the phone. I like the ability to set the App to
return to your 'last use setup' when you return to use it. Photography Pro
offers a (always on) touch screen menu similar to a professional
Sony camera. With the Xperia, you can shoot RAWS or Jpegs or
RAWS + Jpegs as well as selecting different sensor
perspectives - I remained with 14:3 which offers the highest number of sensor
pixels.
Photography Pro
in P Mode
Manual ISO: 50 -
1600
Auto Shutter: 30secs - 1/8000secs
Lens 16mm
Fixed Aperture: f2.2
Lens 24mm
Fixed Aperture: f1.7
Lens 70mm - 105mm
Fixed Apertures: f2.3 -
f2.8
Lenses
The camera has
three forward facing lenses, with the following fields of view -
16mm, 24mm and a 70mm/105mm which are all optical. The
70mm/105mm optical lens can be zoomed to 300mm with 135mm, 200mm
and 300mm markers. However, whilst in the zoom range 106mm-300mm
the camera can shoot DNG RAWS and Jpegs together, but the DNG
RAWS field of view in the final image file remains at 105mm. The
jpeg image file is properly cropped to display the correct
zoomed field of view.
The 70/105mm optical lens can digitally zoom to 300mm but I
found that a camera jpeg beyond 200mm began to lose its image
quality.
Image Quality
The Sony Xperia 5
III Smartphone produces excellent images in the 16mm to 105mm
optical focal range and even when digitally zoomed up to 200mm.
However, the small sensor in the camera has its limitations in
resolving distant detail in relation to the final print size.
The closer the subject material the greater the image quality,
especially using the digital zoom up to 200mm. I am fairly
confident that the camera sensor using ISO:50 is capable of
producing prints up to A4 in size for distant well lit scenes,
especially using the 16mm lens and for closer well lit scenes,
even up to A3 print size. Higher ISO settings and for scenes in
low light, like a night street scene under street lights
(without flash) will reduce the print size if you wish to retain
excellent resolution.
The dynamic range of the small sensor is poor when shooting
16mm/24mm scenes in Jpeg mode that contain a dark foreground and
a bright skyline. Using the exposure compensation dial graph in
Photography Pro - if you very lightly raise the light in the
foreground, the skyline will blow out. Even a DNG RAW version
will blow out the resolution of the skyline and especially any
resolution in tree branches will be unrecoverable in post
processing. If you make no exposure adjustments when shooting a
DNG RAW file, you have a greater opportunity of raising the dark
foreground in post processing BUT this is likely to
reduce the size of the print size if you wish to retain decent
foreground resolution.
Using the Photography Pro App, you can set the exposure for HDR
BUT only in Jpeg mode - its cannot be set when shooting
DNG RAW mode or in DNG RAW + Jpeg mode. The HDR does an
excellent job of opening up the dynamic range and producing
excellent images, however using the 16mm lens and even with the
camera distortion correction mode set, the edge lines of the
image (like trees/buildings) will bend inwards. Of course you
can always post process/clean up the distortion of a camera jpeg
(within reason) in Adobe Lightroom or another suitable computer
software package. Sometimes the distortion is so bad that the
line edges can only be slightly re-aligned before the centre of
the scene starts to completely distort.
Photography Pro
in
BASIC
Mode (Stills - Video - Selfies)
I appreciate that
many folks will just want to shoot family images, videos and
selfies, especially in
holiday locations and for standard print sizes. For that purpose
the Sony Xperia 5 III Smartphone produces excellent jpeg images
in its Basic Camera Mode. Start the Photography Pro App - set
the screen left digital graph to BASIC. HDR mode is
automatically set for you. There is a small camera icon on the
screen (top/right) which when tapped toggles between the front
lens and the back (selfie) lens. There is a camera/video icon to
the right centre of the screen and when tapped toggles between
the camera stills photography and video. The white button on the
right/centre of the screen is white for still photography and
red for video.
You can, on the screen,
select your zoom range and an image style, including a Portrait Selfie
Mode as well as a slow motion video mode. The stills shutter can
be fired from a white button on the right of the screen or by
using the top shutter button on the phone and likewise the red
button when set for video.
Photography Pro
in P
Mode
I will use the P mode - each lens aperture is fixed and by
manually adjusting the ISO number the shutter speed adjusts to
match the aperture and the ISO settings. There is also an
exposure compensation bar at the top of the camera screen to
allow finite adjustments in the exposure.
Ideally for all stills photography in Photography Pro P Mode,
you should endeavour to set ISO to the lowest ISO:50 setting
provided the shutter speed is fast enough to capture the image
(if moving) and fast enough to prevent camera shake (blurring)
in the final image. As the ISO is set higher, there is more
digital noise, breakup of resolution and the final print size is
reduced if you want a clear print. I do not use ISO set to AUTO.
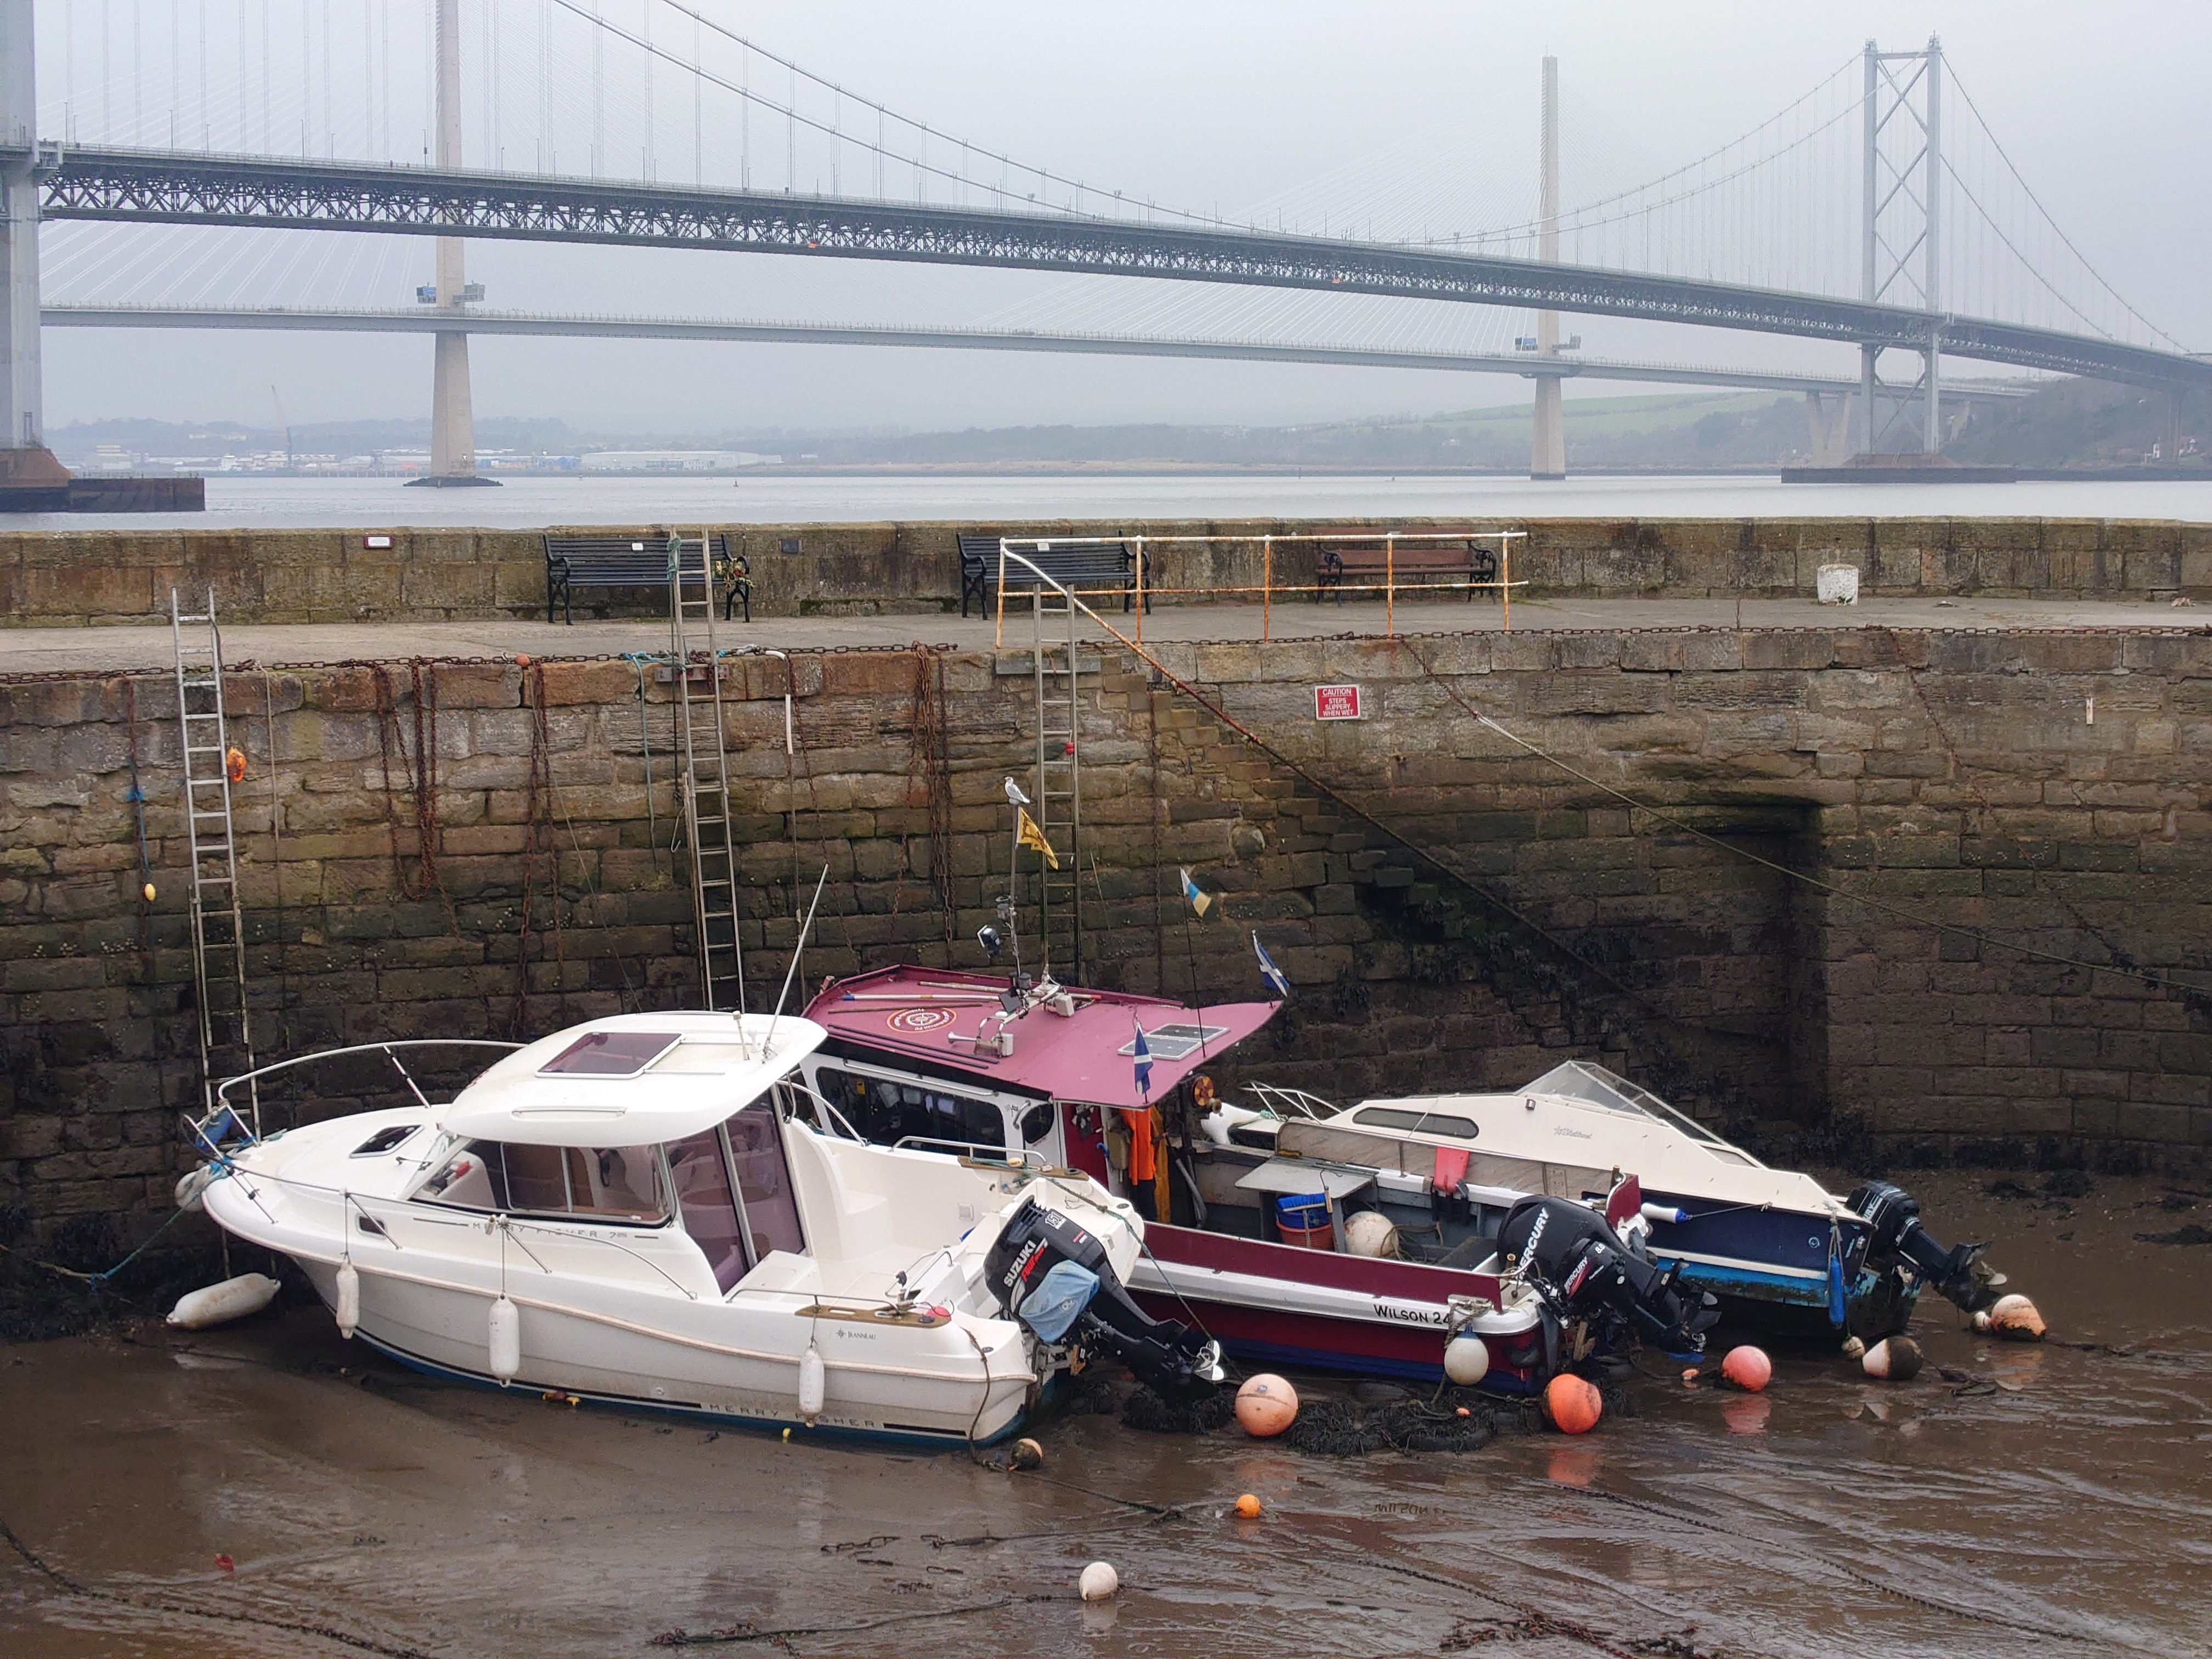
Down at South Queensferry in Scotland, it was a dull and very
misty day over on the estuary and the conditions were excellent
for testing the camera sensor in adverse weather light
conditions. This is a 70mm lens camera jpeg image, straight out
of the camera which was shot at ISO:64, aperture f2.3 and
shutter speed 1/160sec. The image quality is good for a print
around 16" in width. Click on the image to open up to full size
-
Zeiss 16mm Lens - Camera Jpegs Distortion Test
The
Zeiss 16mm lens in the photography Pro App menu can be set to
correct distortion or for maximum image quality when shooting
camera jpegs. Having completed some tests, I found it impossible
to conclude which of the two mode delivered the best IQ. Please
click on the camera jpeg images below to compare -
Distortion Correction Mode
Optimum Image Quality Mode
Lens 16mm
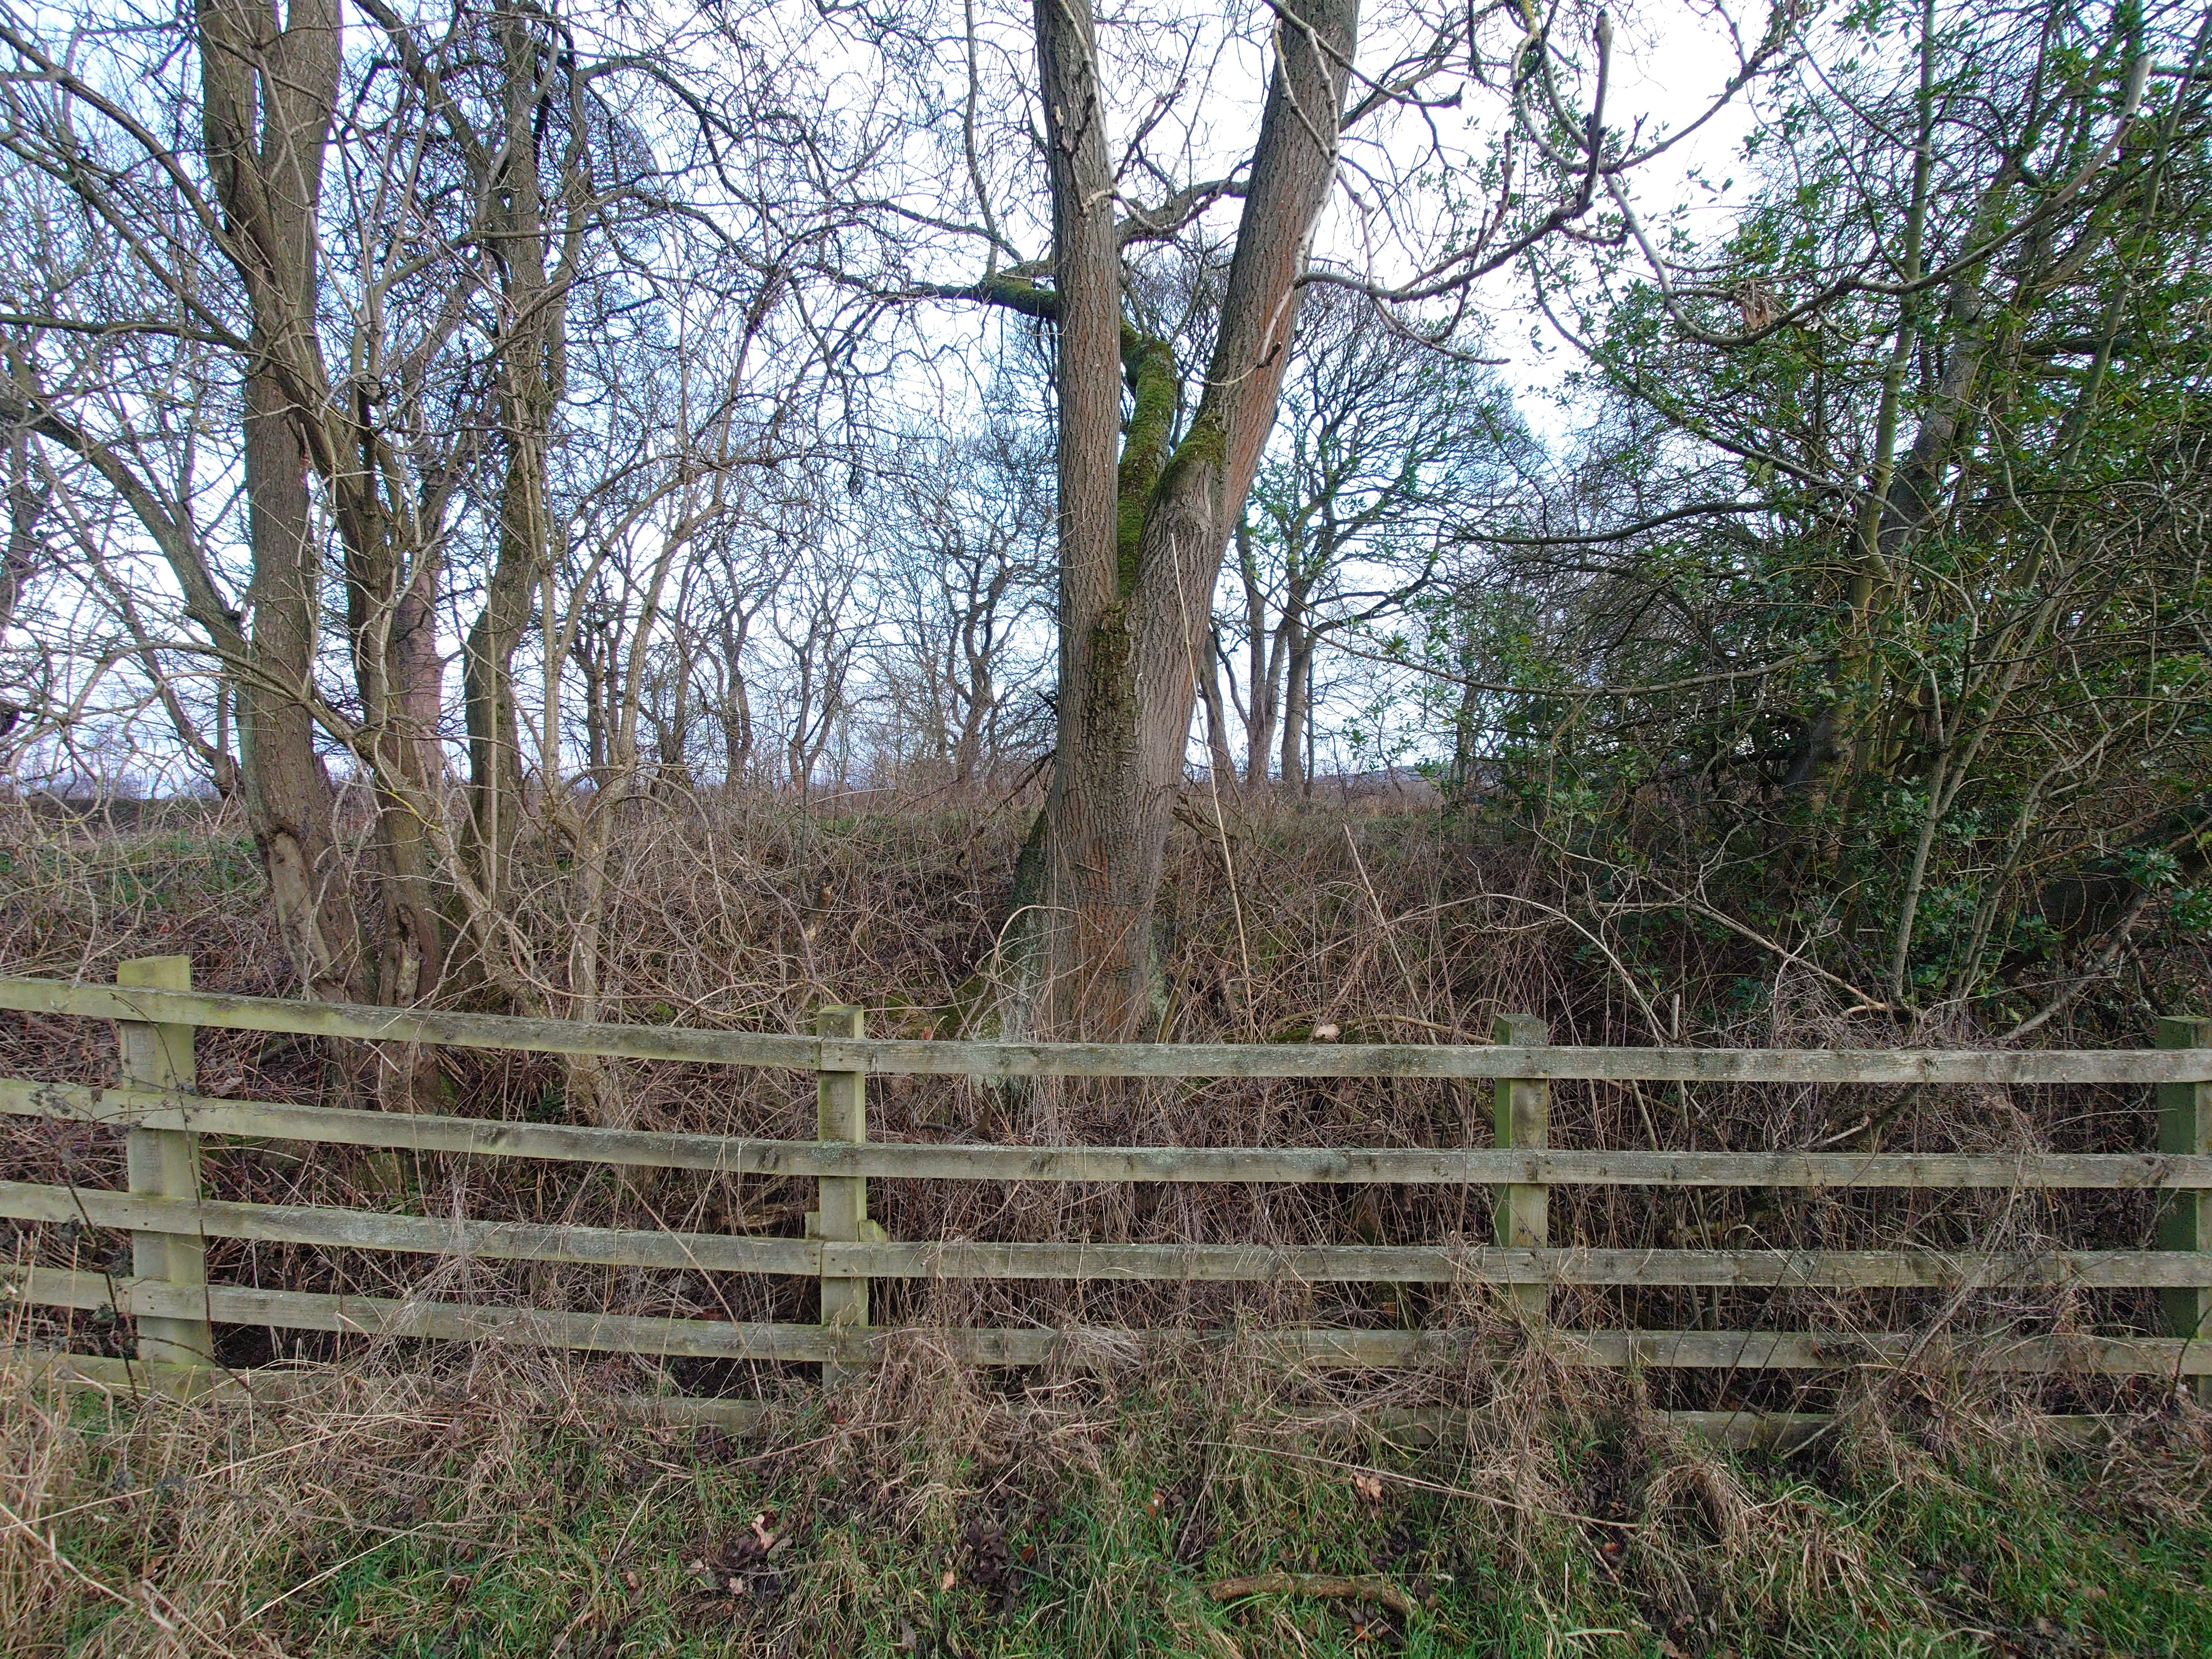
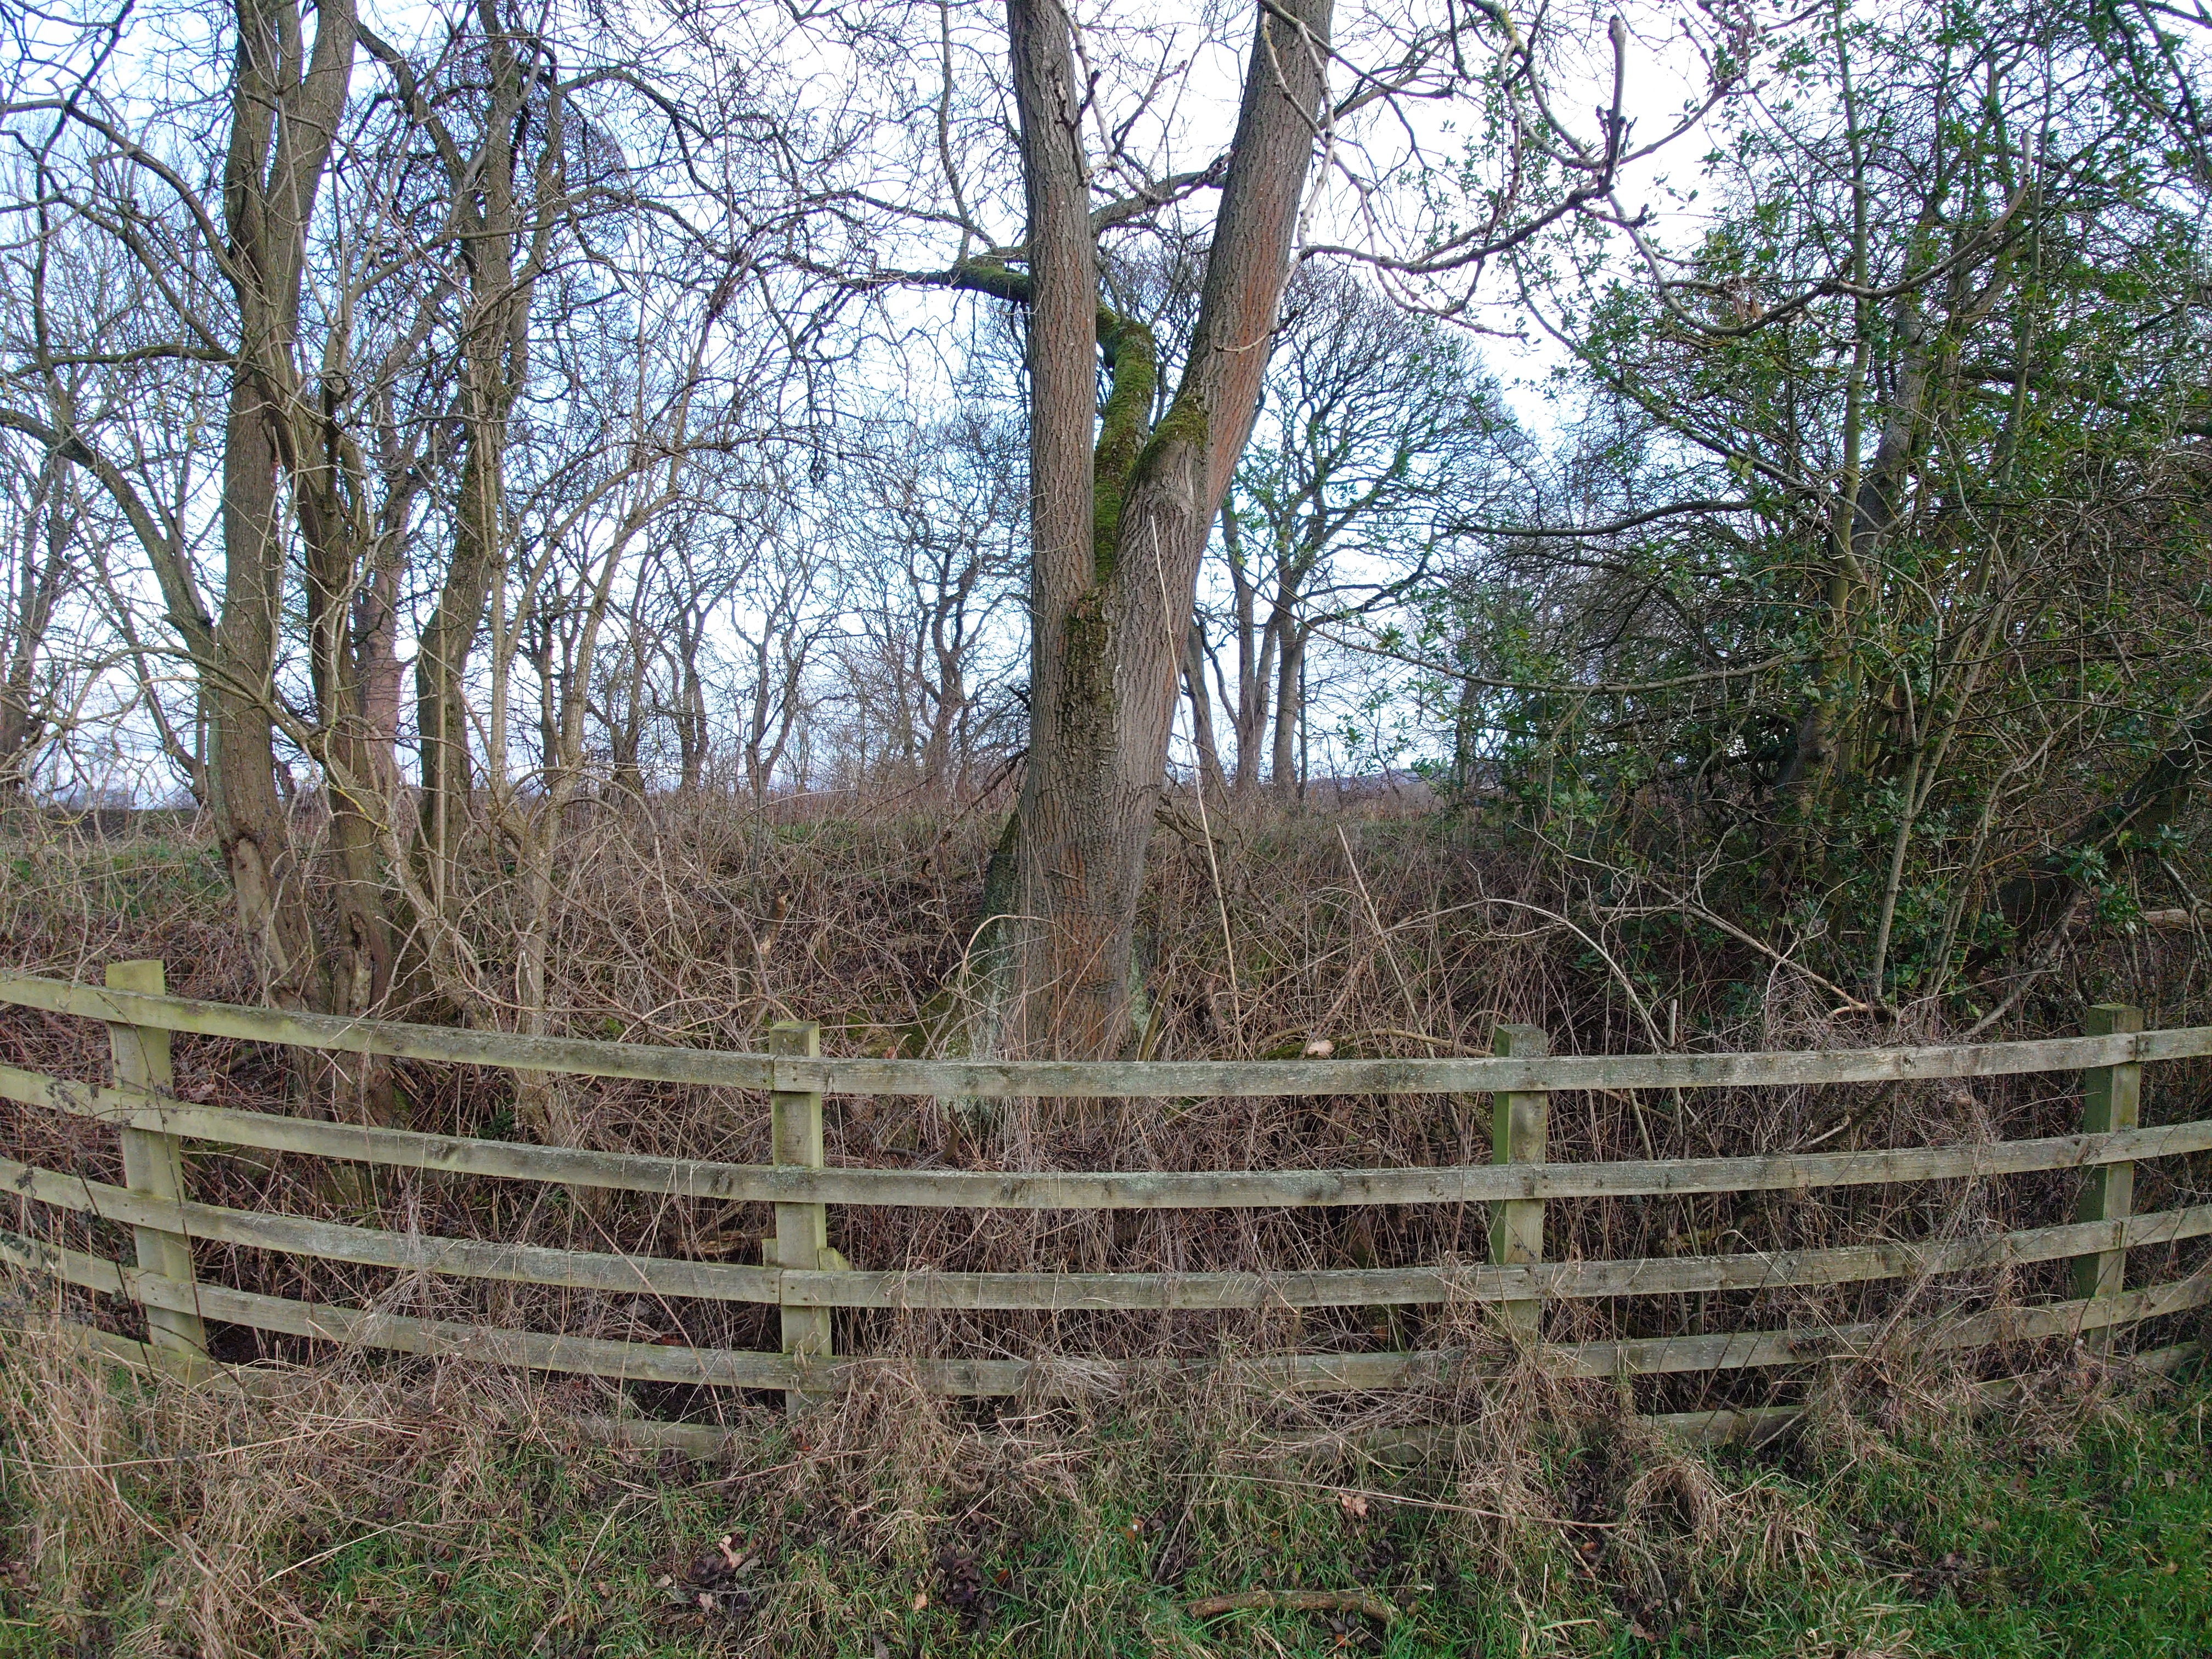
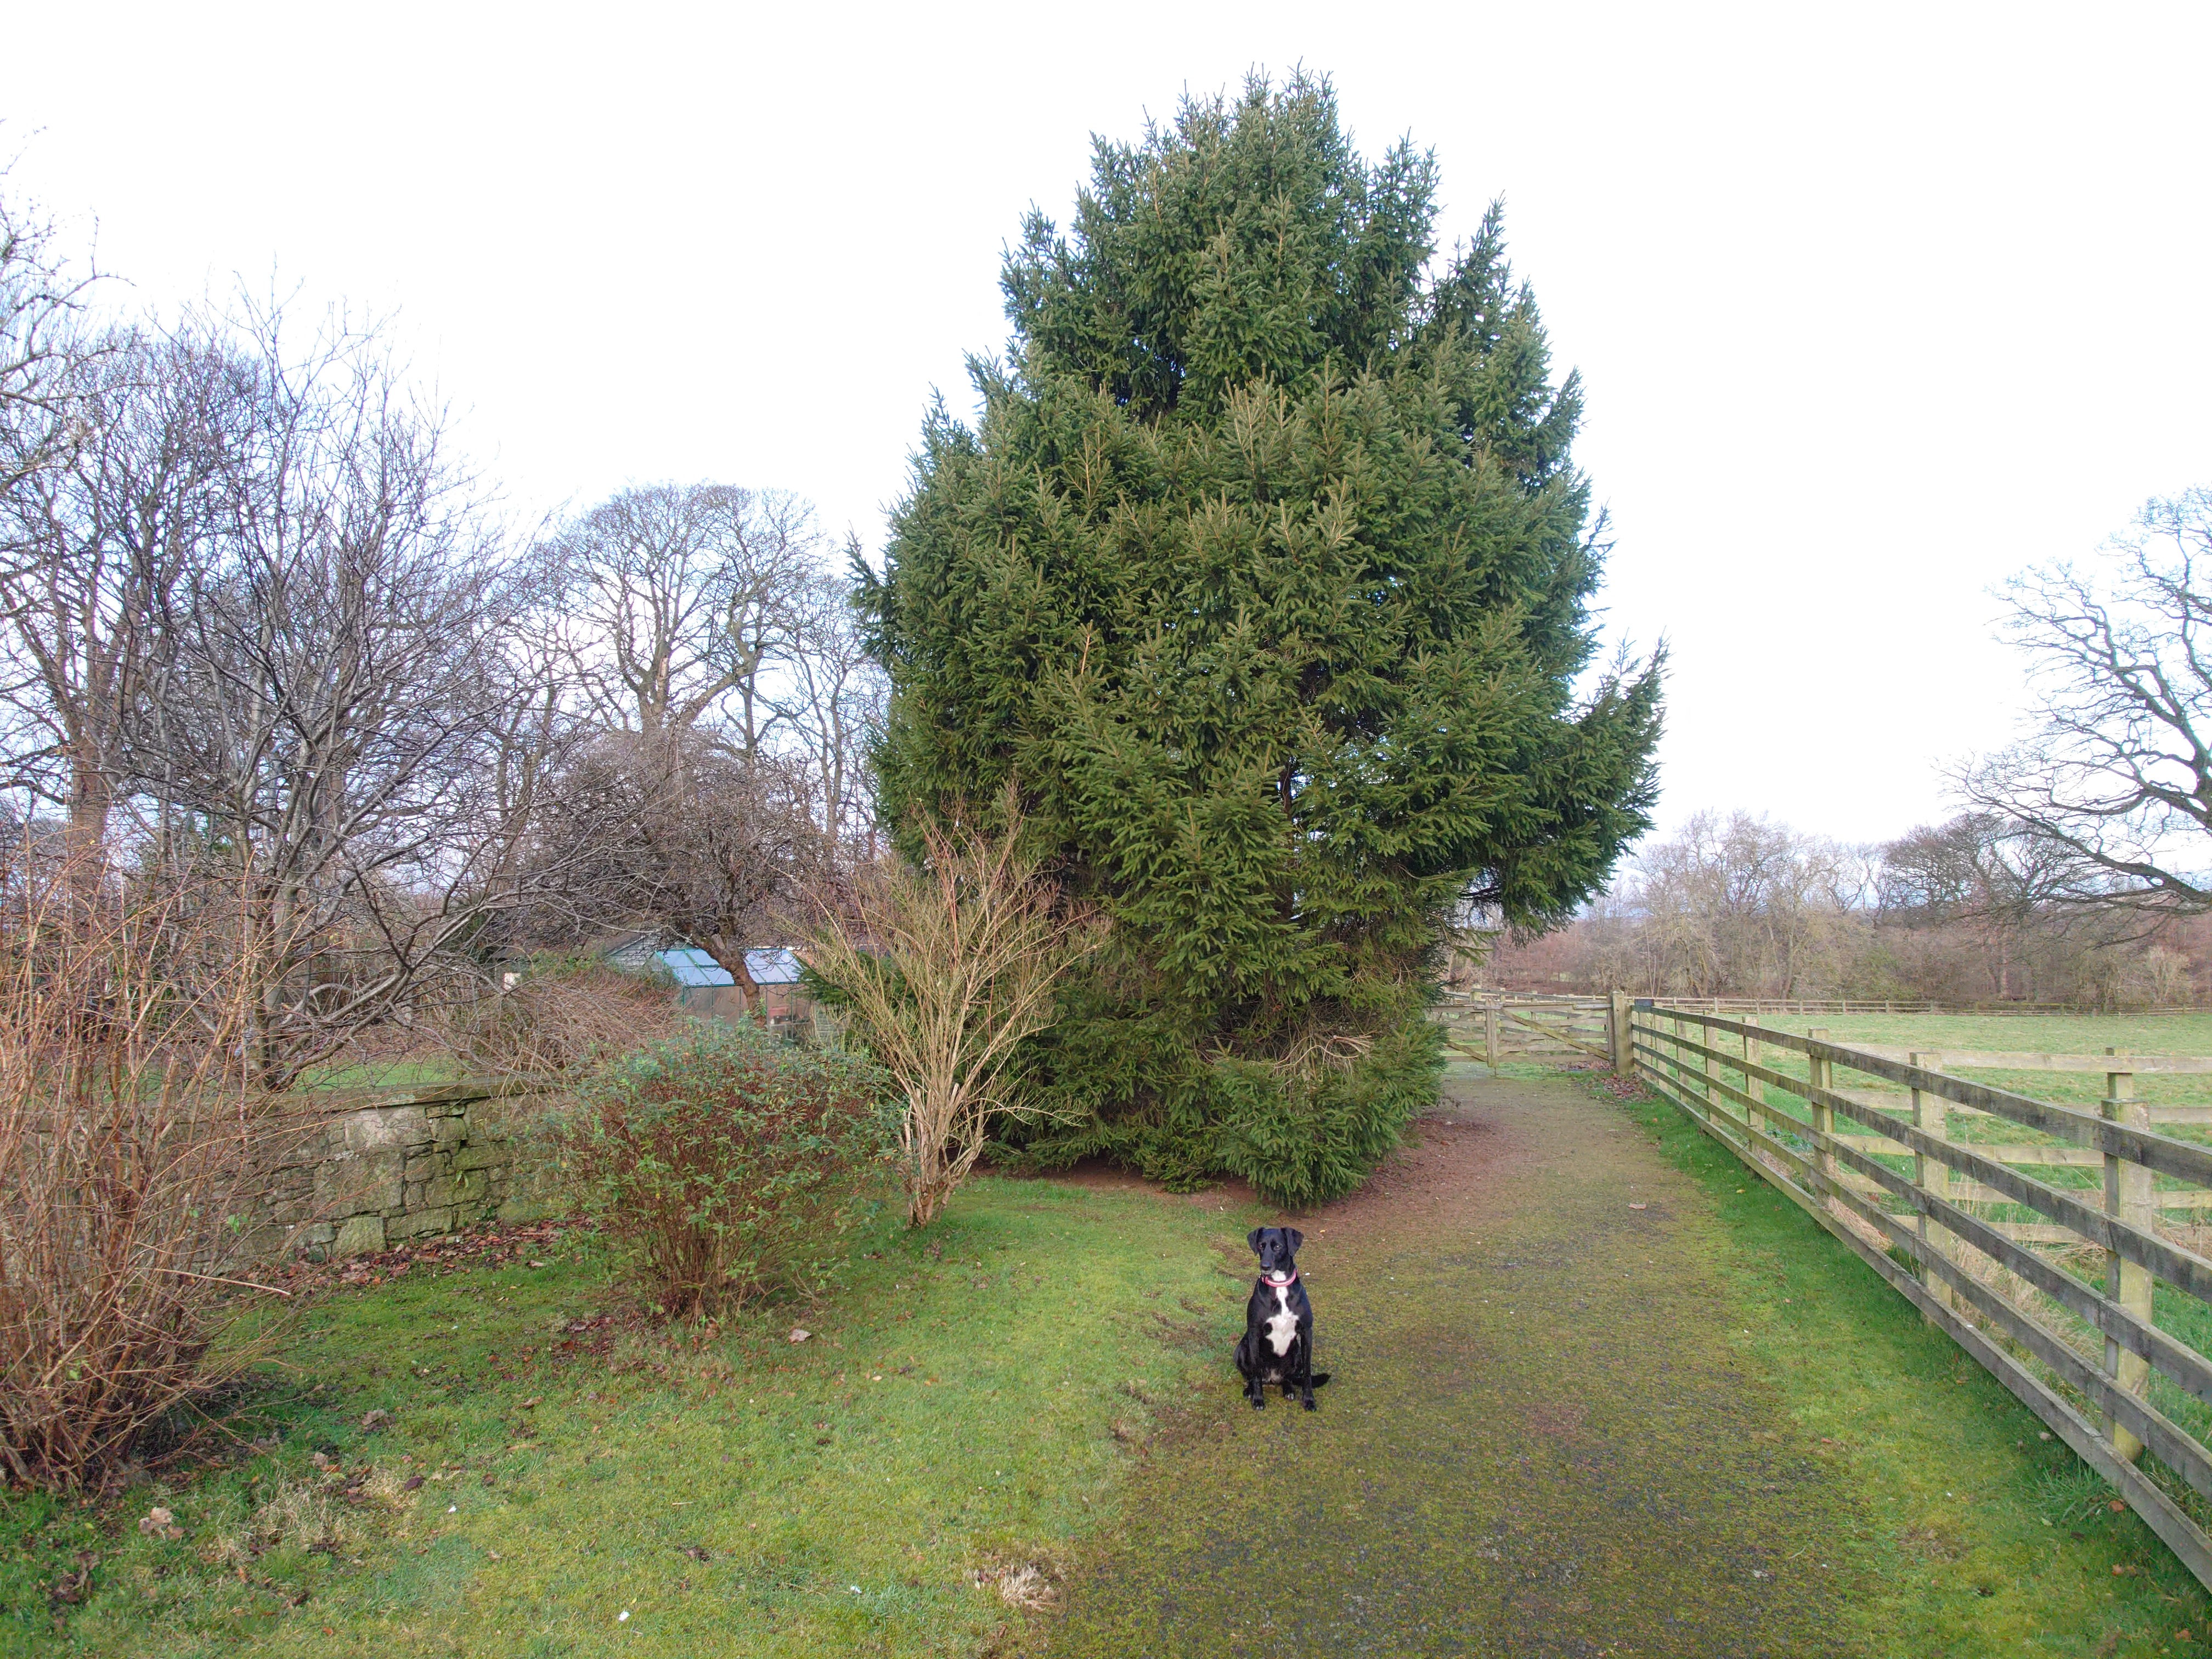
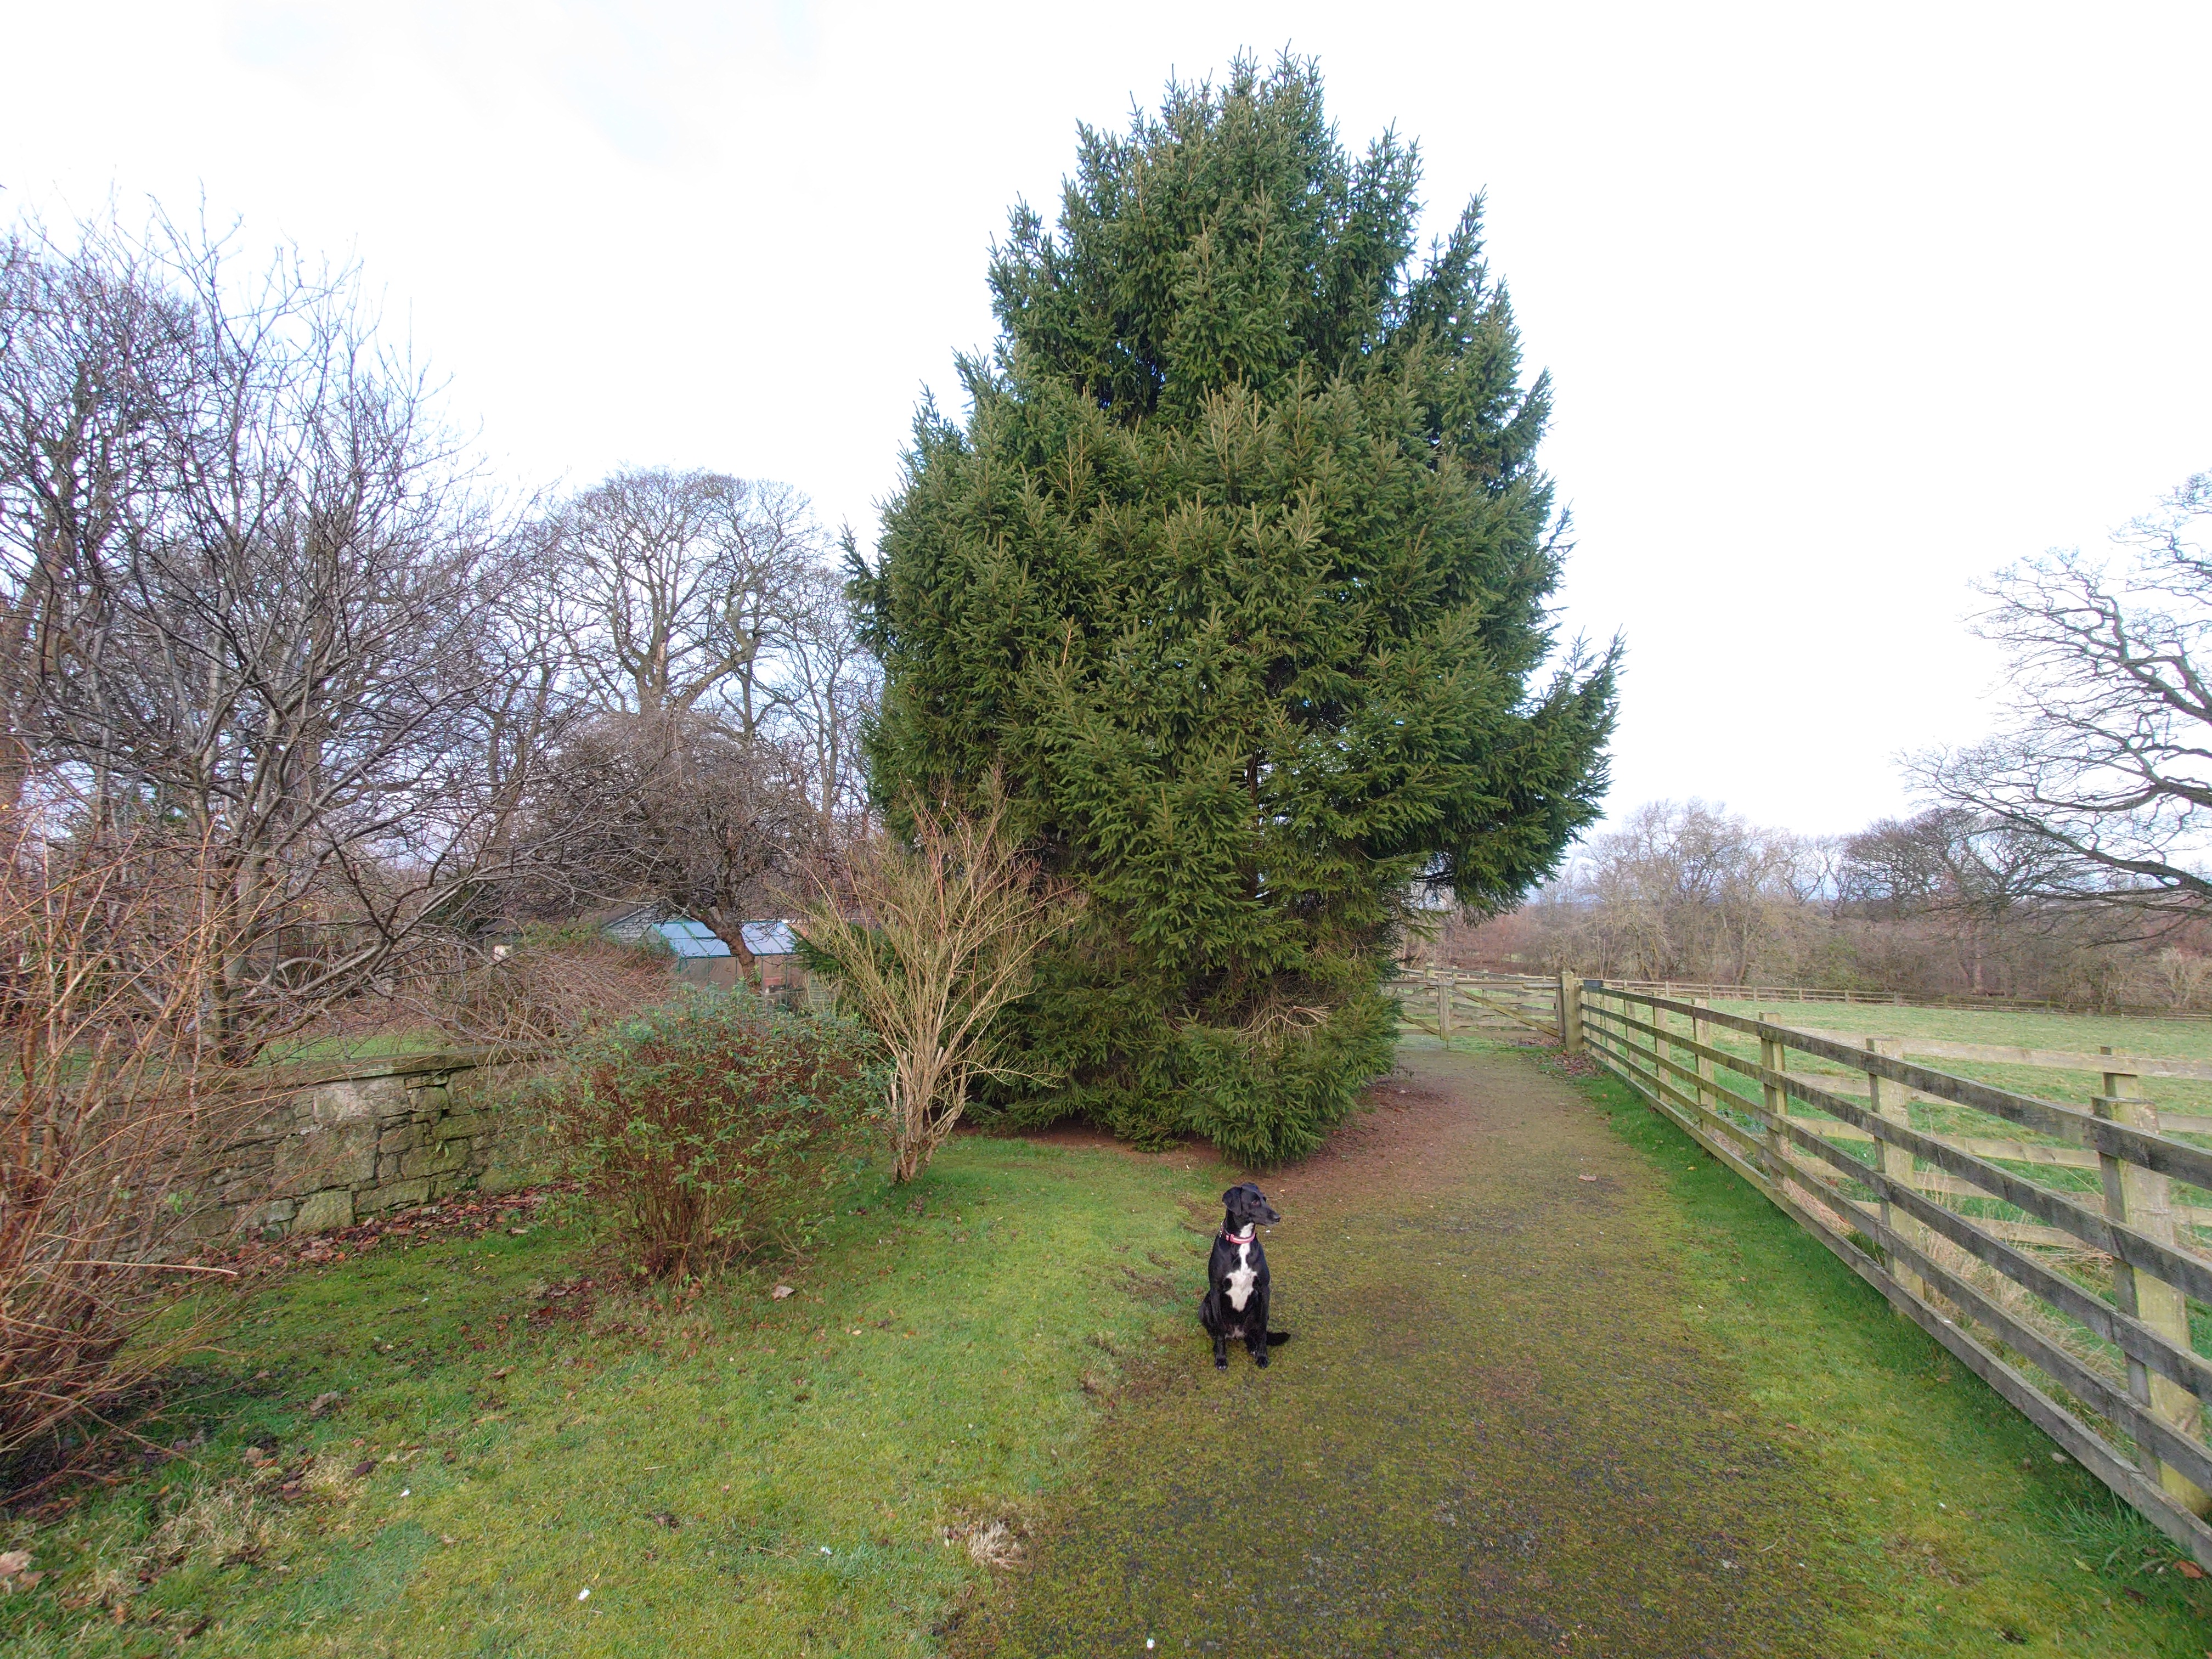
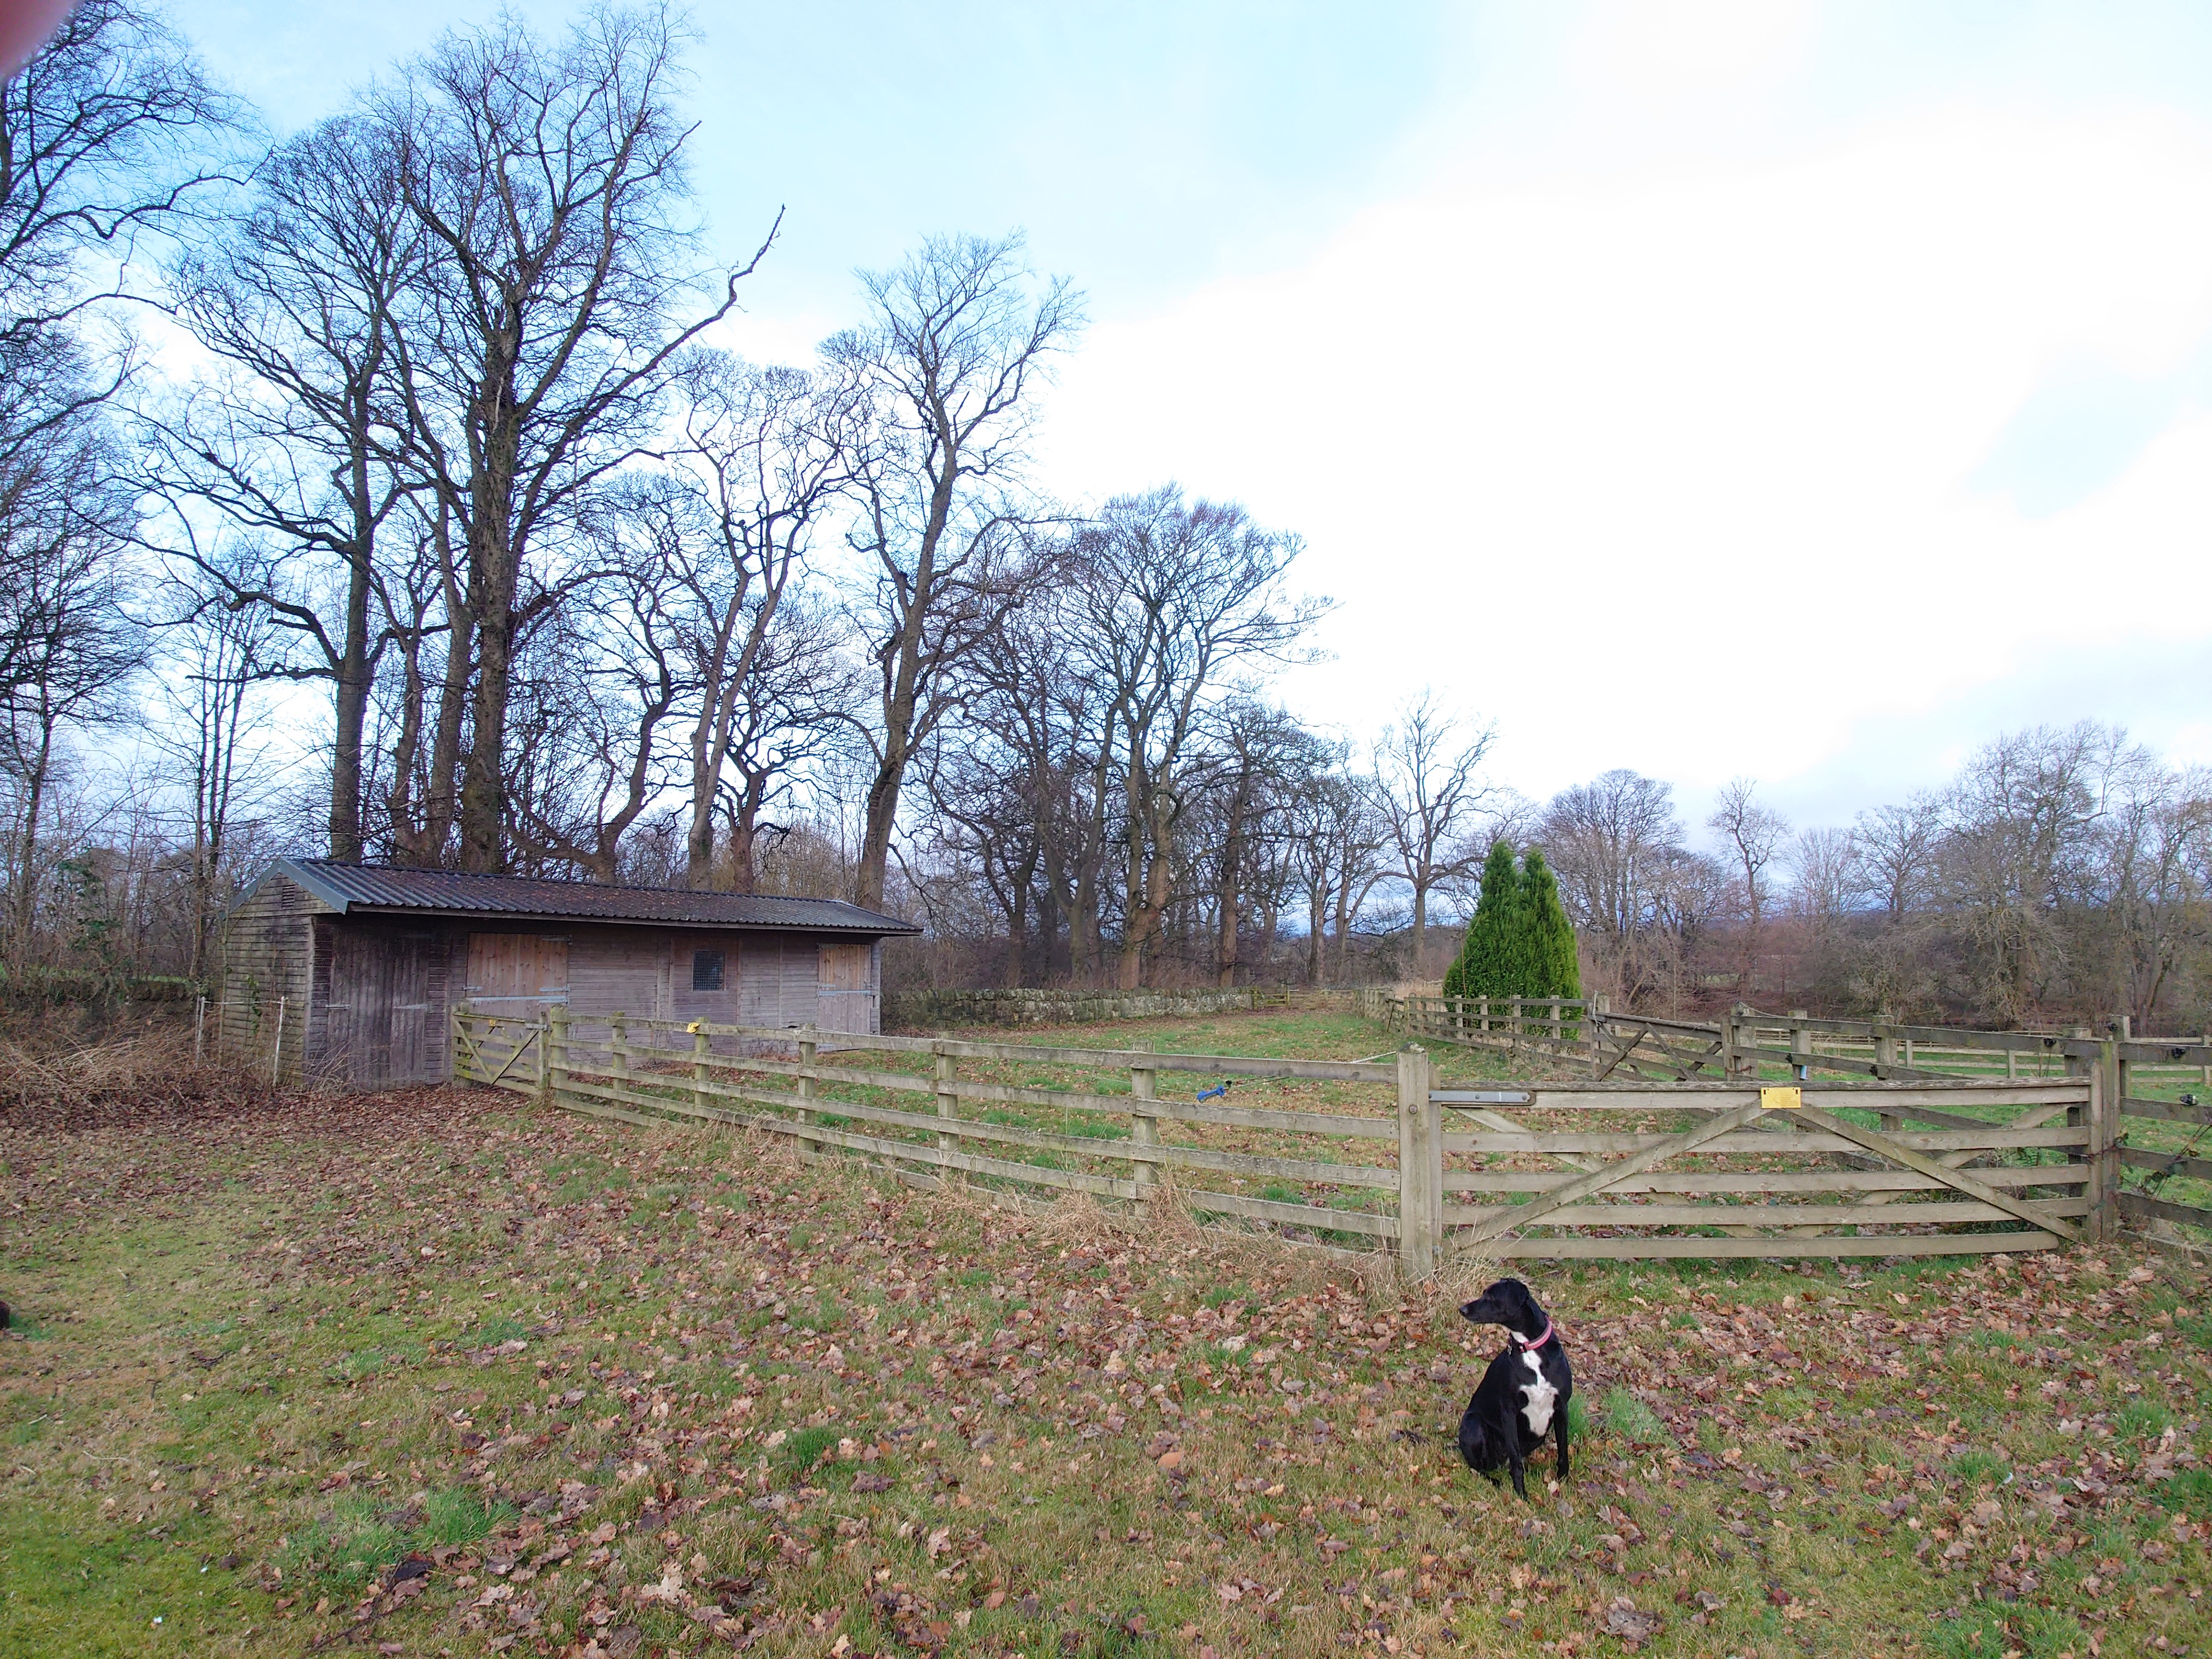
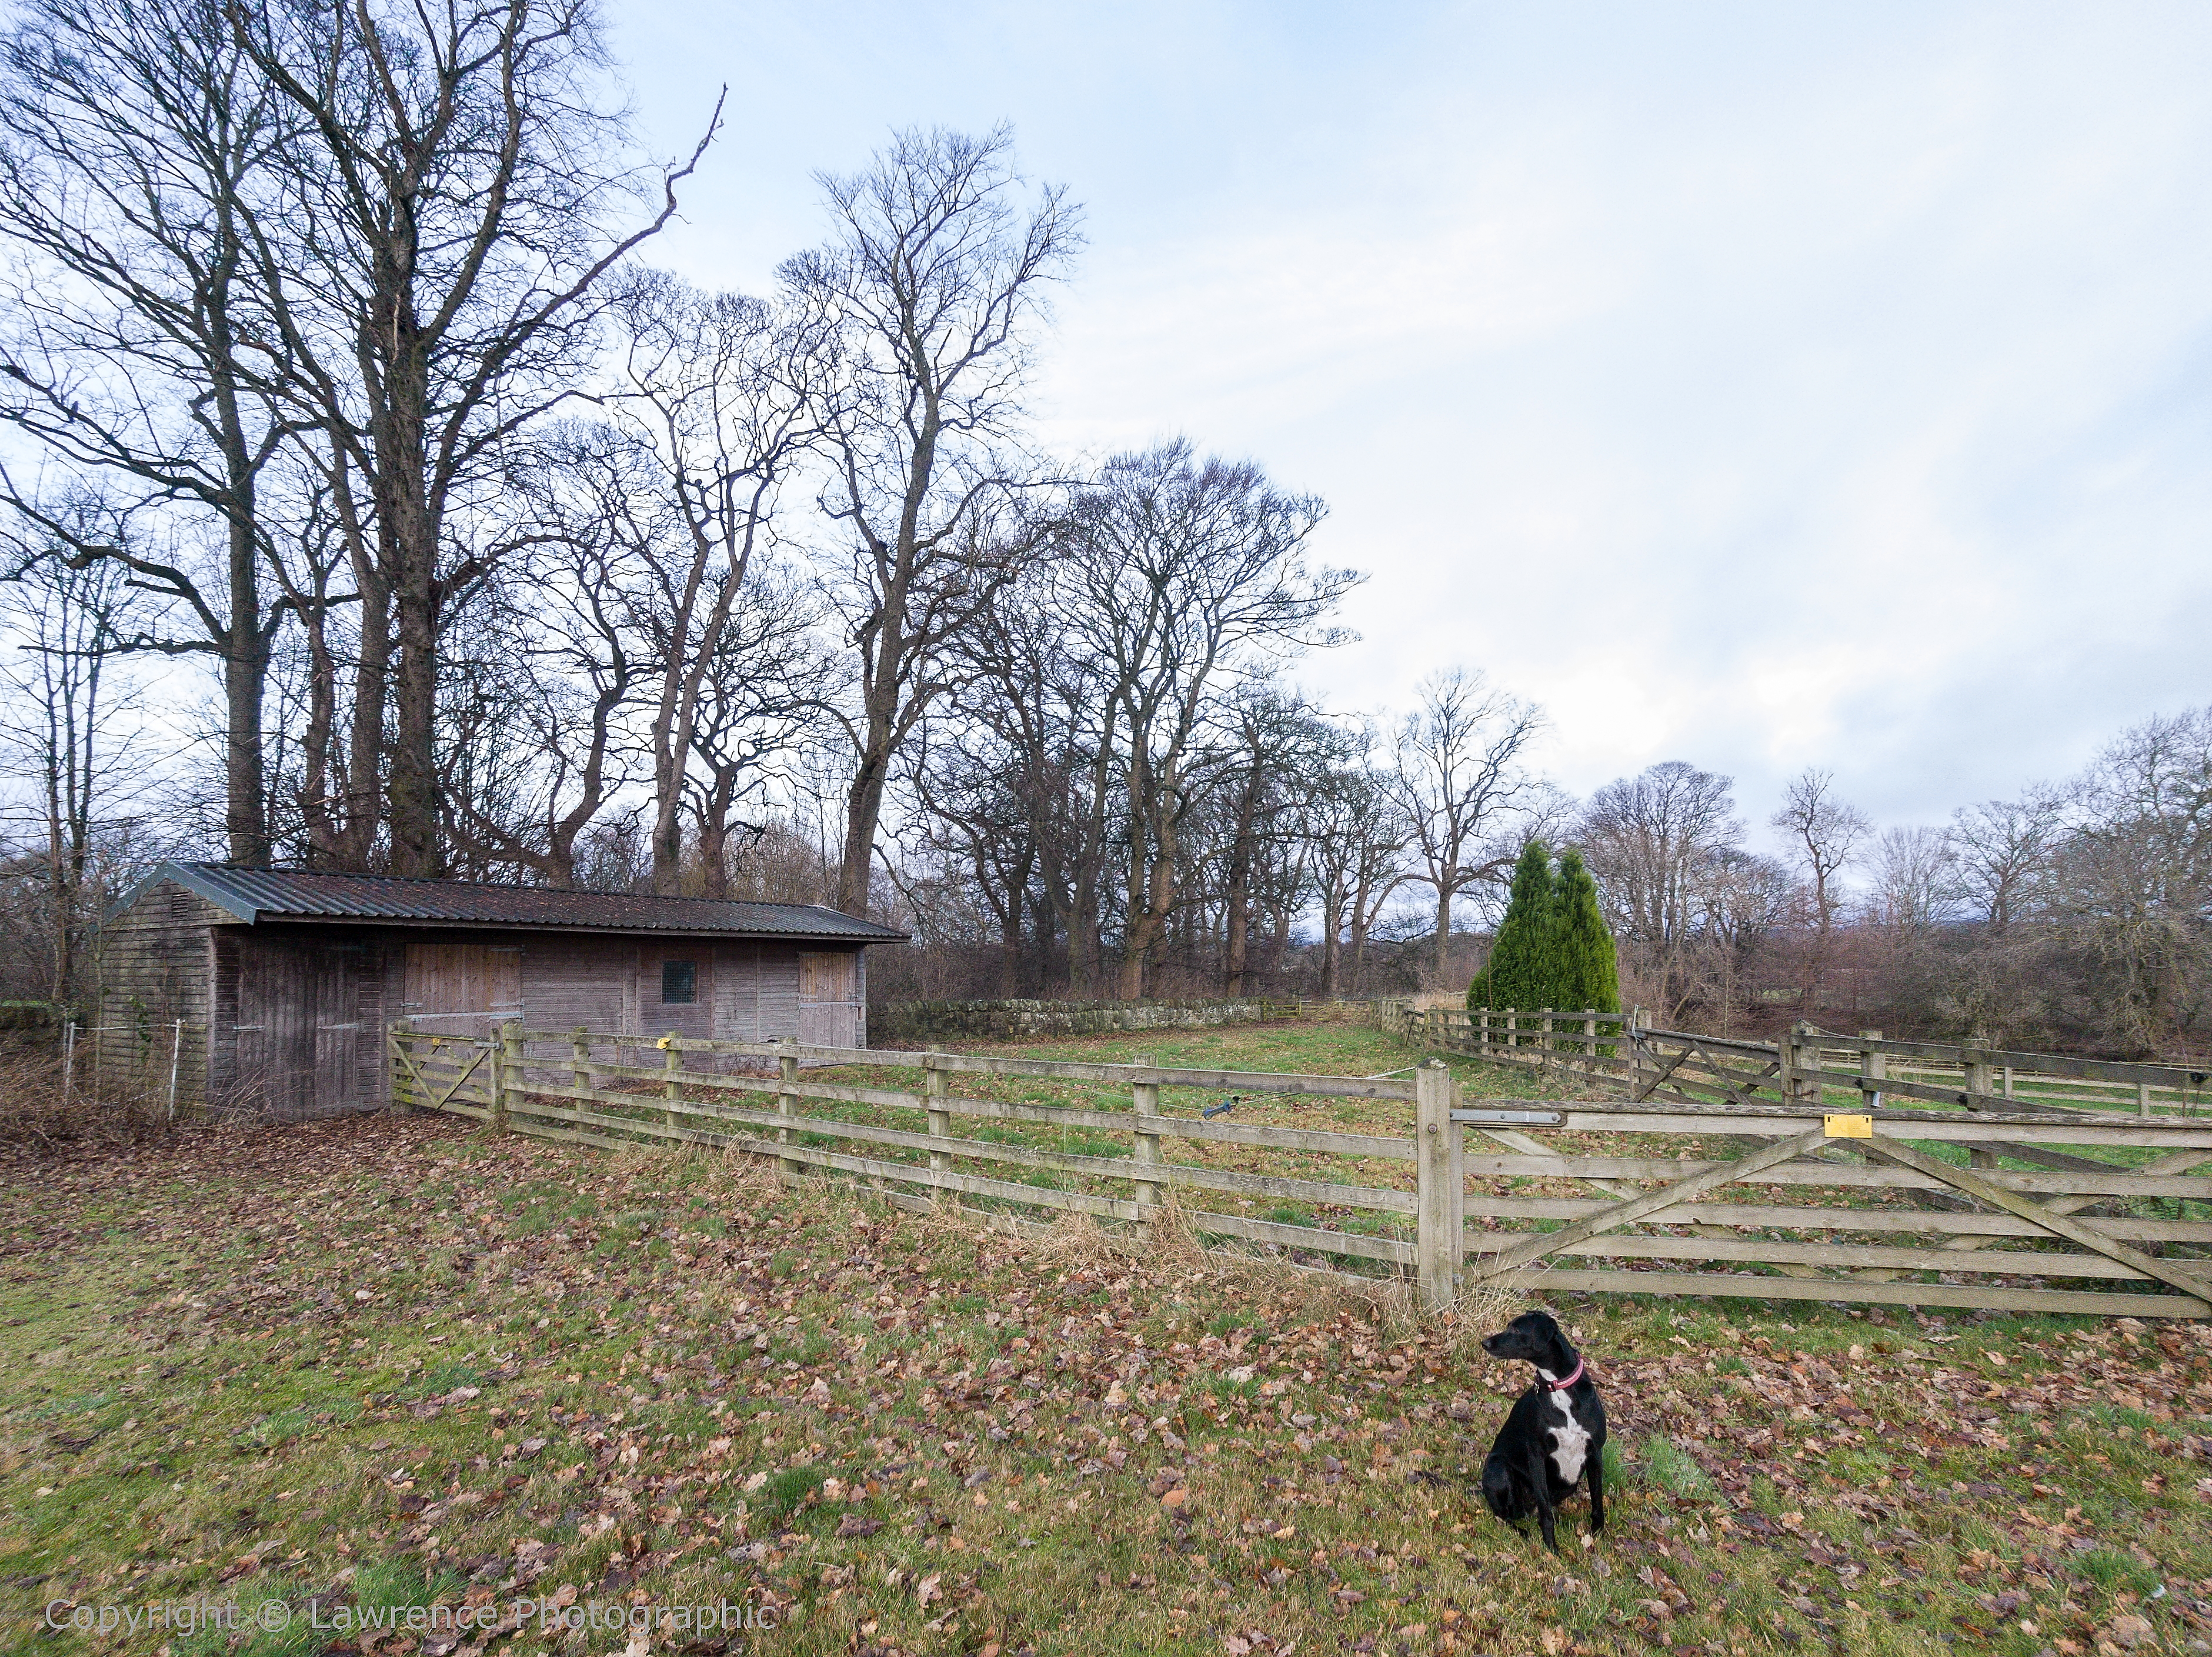
Zeiss 16mm Lens - Camera Jpegs + DNG RAW Chromatic Test
The
Zeiss 16mm Lens when shooting camera jpeg files displays a
considerable amount of chromatic aberrations as can be seen in
the camera jpeg image below. Using its partner DNG RAW file in
Lightroom, I can remove a fair amount of the chromatic
aberrations but some remain. The original camera jpeg was shot
with distortion correction set to on but I also applied
distortion correction to the DNG to jpeg conversion, whereby a
constrained crop occurs, as can be seen when comparing the two
images. The distortion correction in the DNG to jpeg can be seen
on the left side of the stable. Of course the bare trees example
in winter is extreme and areas where chromatic aberrations are
going to cling, will not be the case in many other landscape
images during the summer months.
Please
click on the two images below to compare -
Camera Jpeg
Lightroom (DNG to Jpeg) Conversions
Lens 16mm
Sample
Images
These are full size jpeg images directly out of the camera and
their equivalent Lightroom DNG (RAW) jpeg full size file
conversions. I used Lightroom to make the DNG to jpeg
conversions and was able to produce reasonable images with the
usual exposure, contrast, saturation adjustments, and any
overblown highlights reduced and dark shadows lifted, but I was
unable to achieve the same sharpness vs image quality as the
camera jpegs without artifacts appearing at larger print sizes
in the darker areas of a DNG to jpeg converted image.
Where you benefit
with Lightroom, either editing the DNG or the camera jpeg
files, is in the ability to re-align vertical right/left edge
distortions of the image when using the camera in 16mm lens
mode. Photo Pro can be set to offset vertical distortion in the
16mm images and makes a fair job of it, but its not perfect.
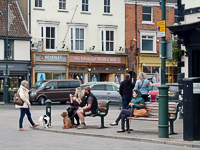
There is no doubt that the camera jpegs are excellent provided
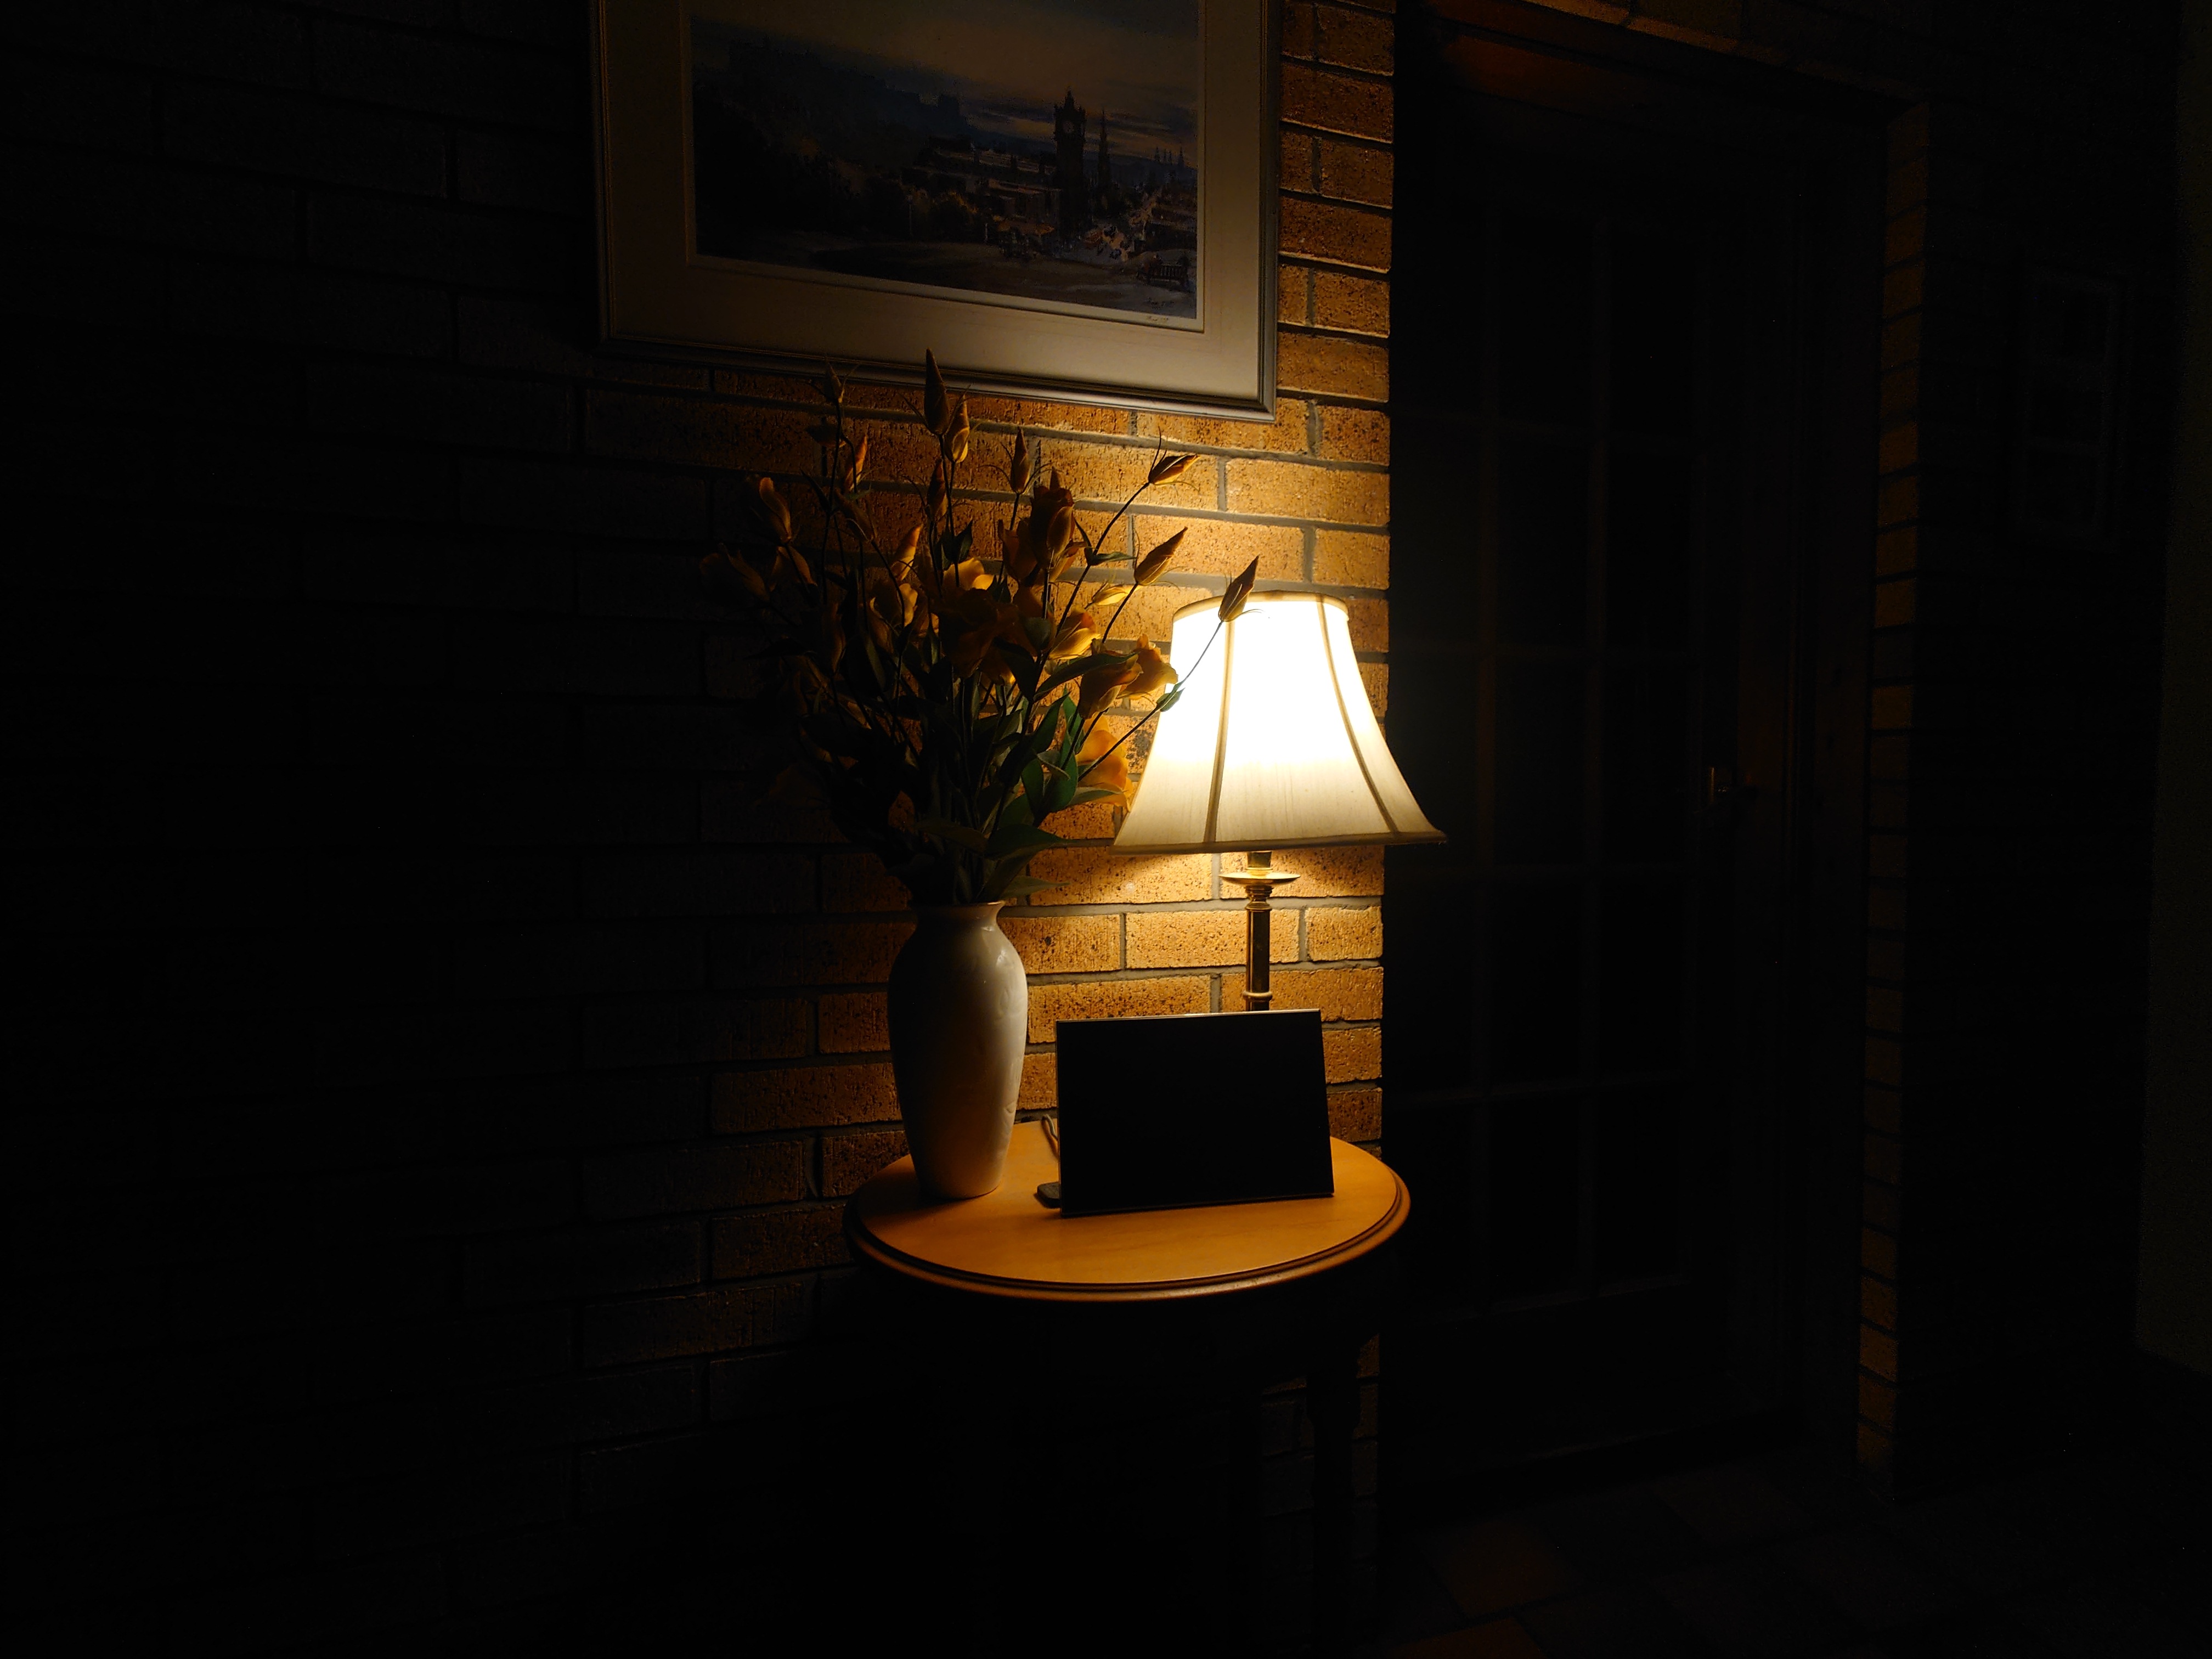
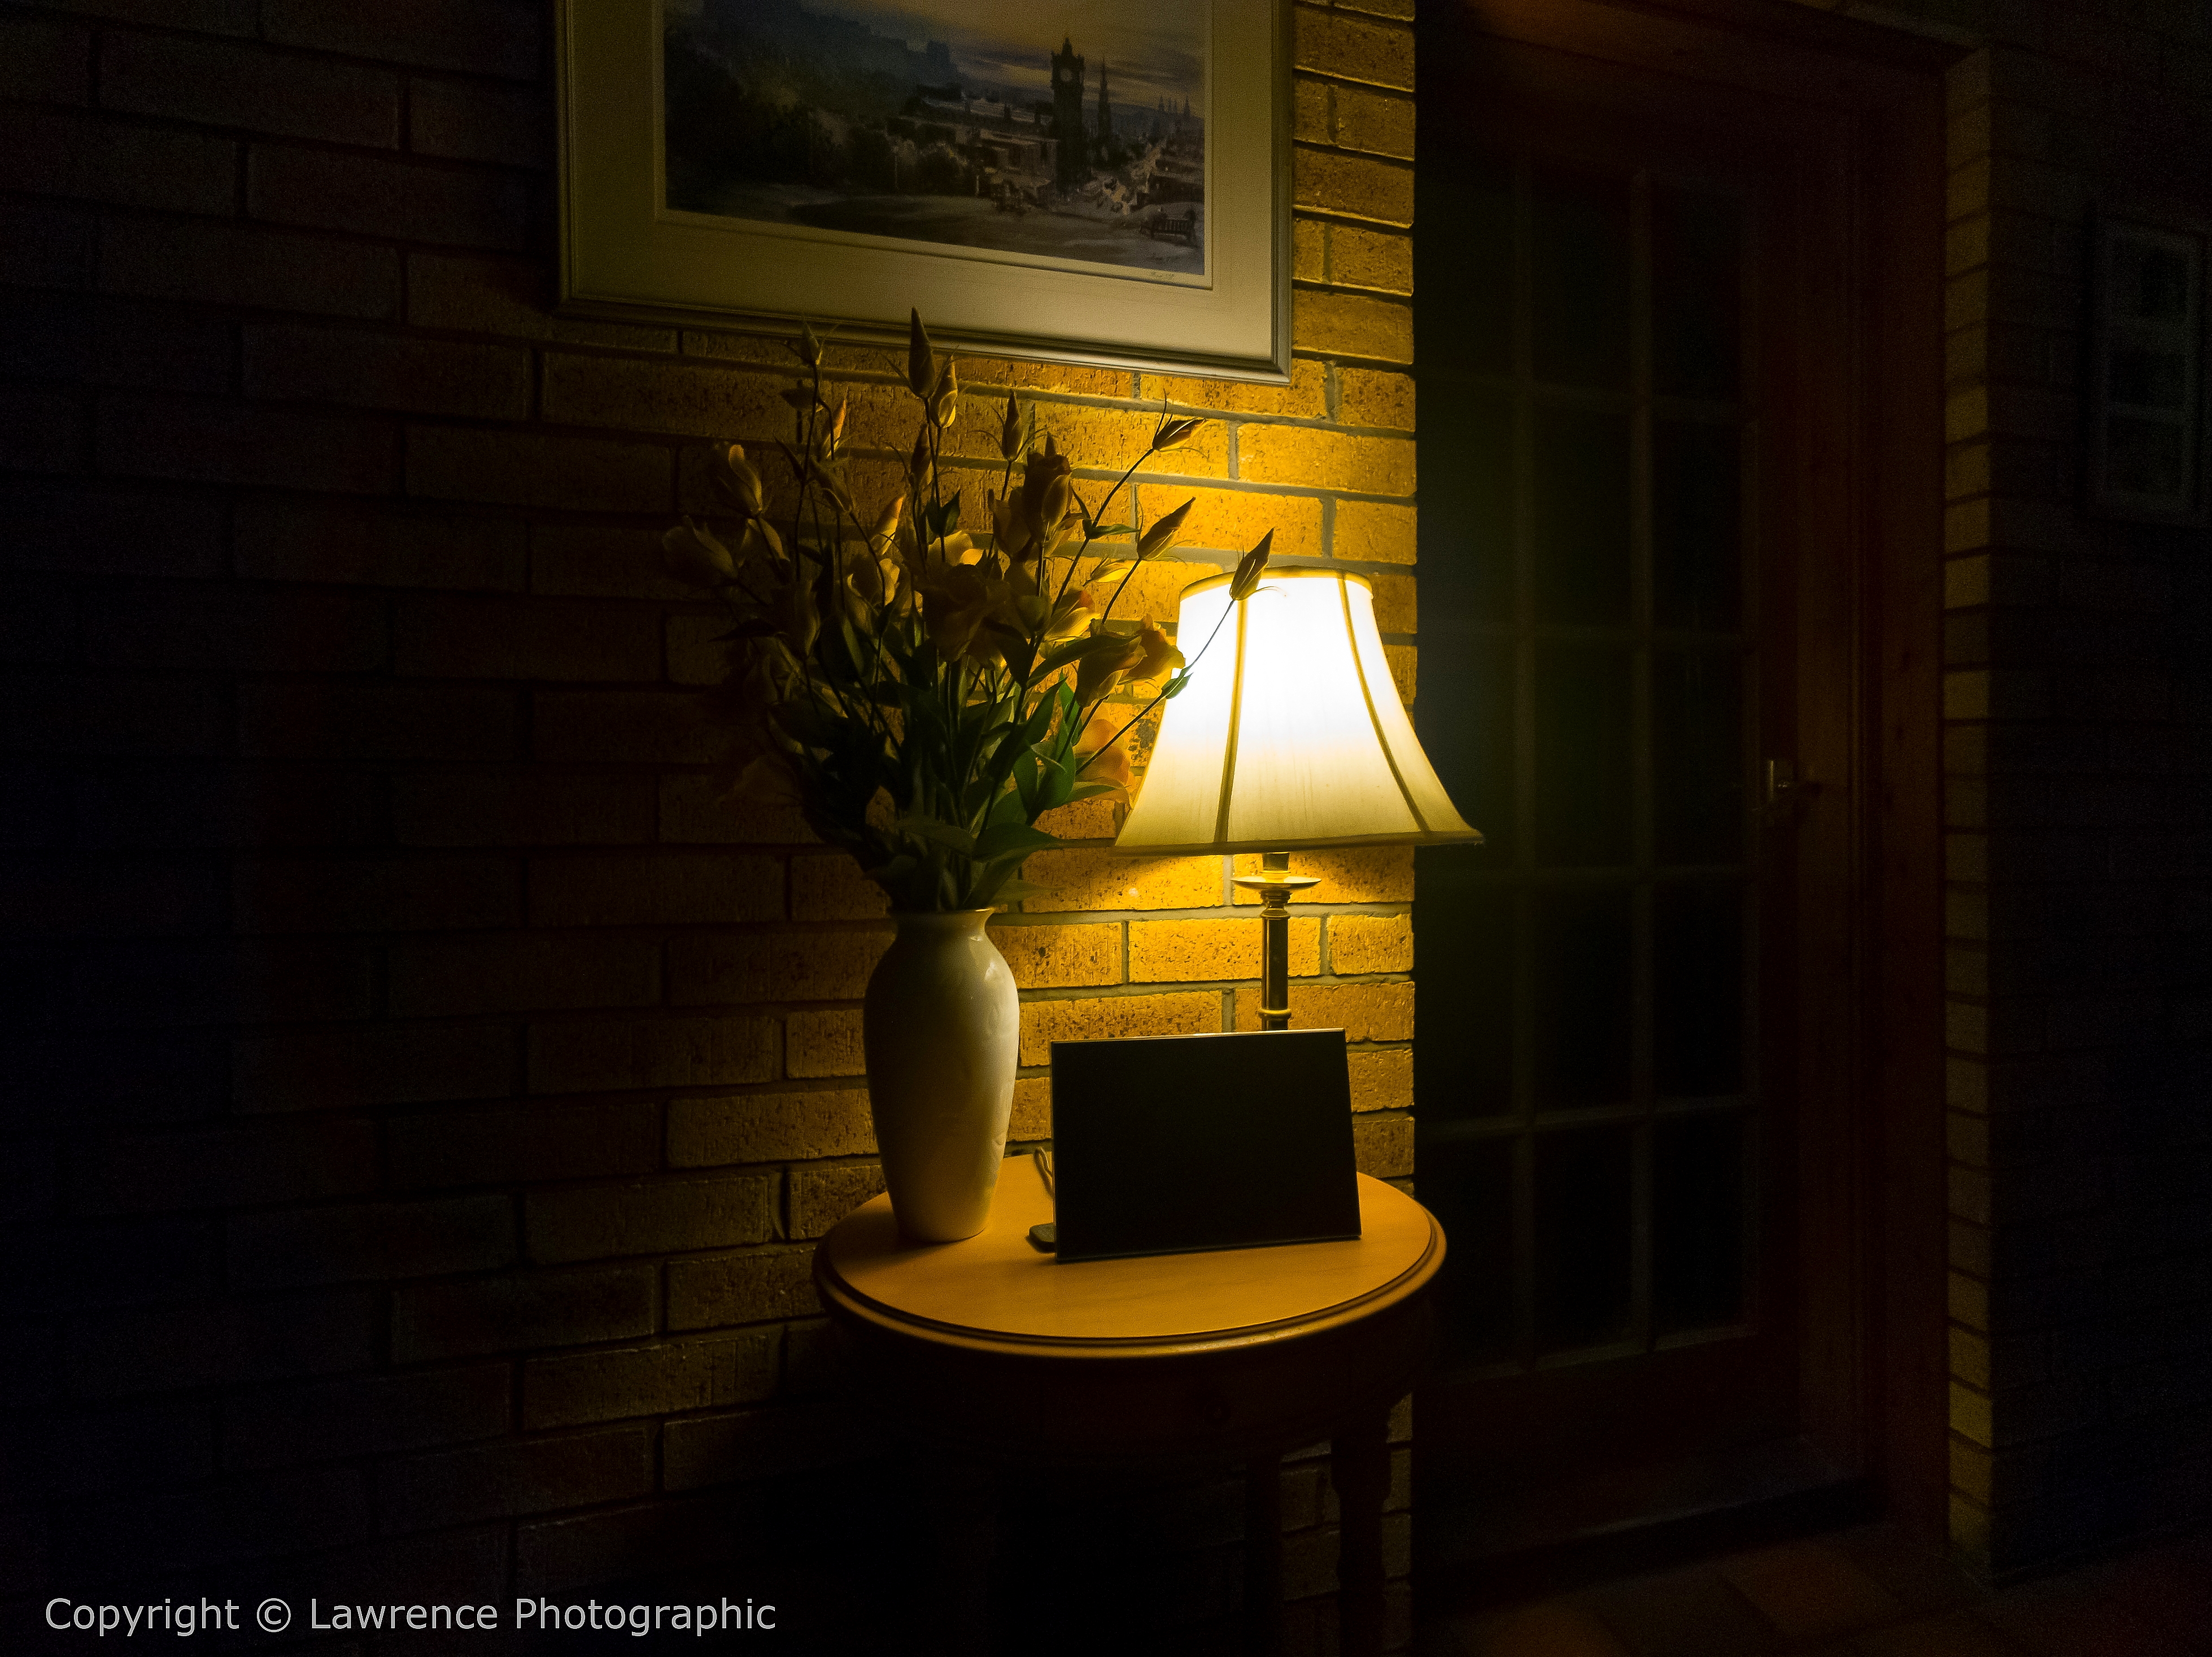
the exposure is correct. As I said above, I am not a fan of using a screen to
compose my images, I prefer a viewfinder. Now that I have a
smartphone, I must start wearing my reading glasses when using
Photography Pro and viewing the image screen. In the images below,
the camera jpeg image of the lamp is slightly underexposed
because the door frame on the right is not visible - it is in
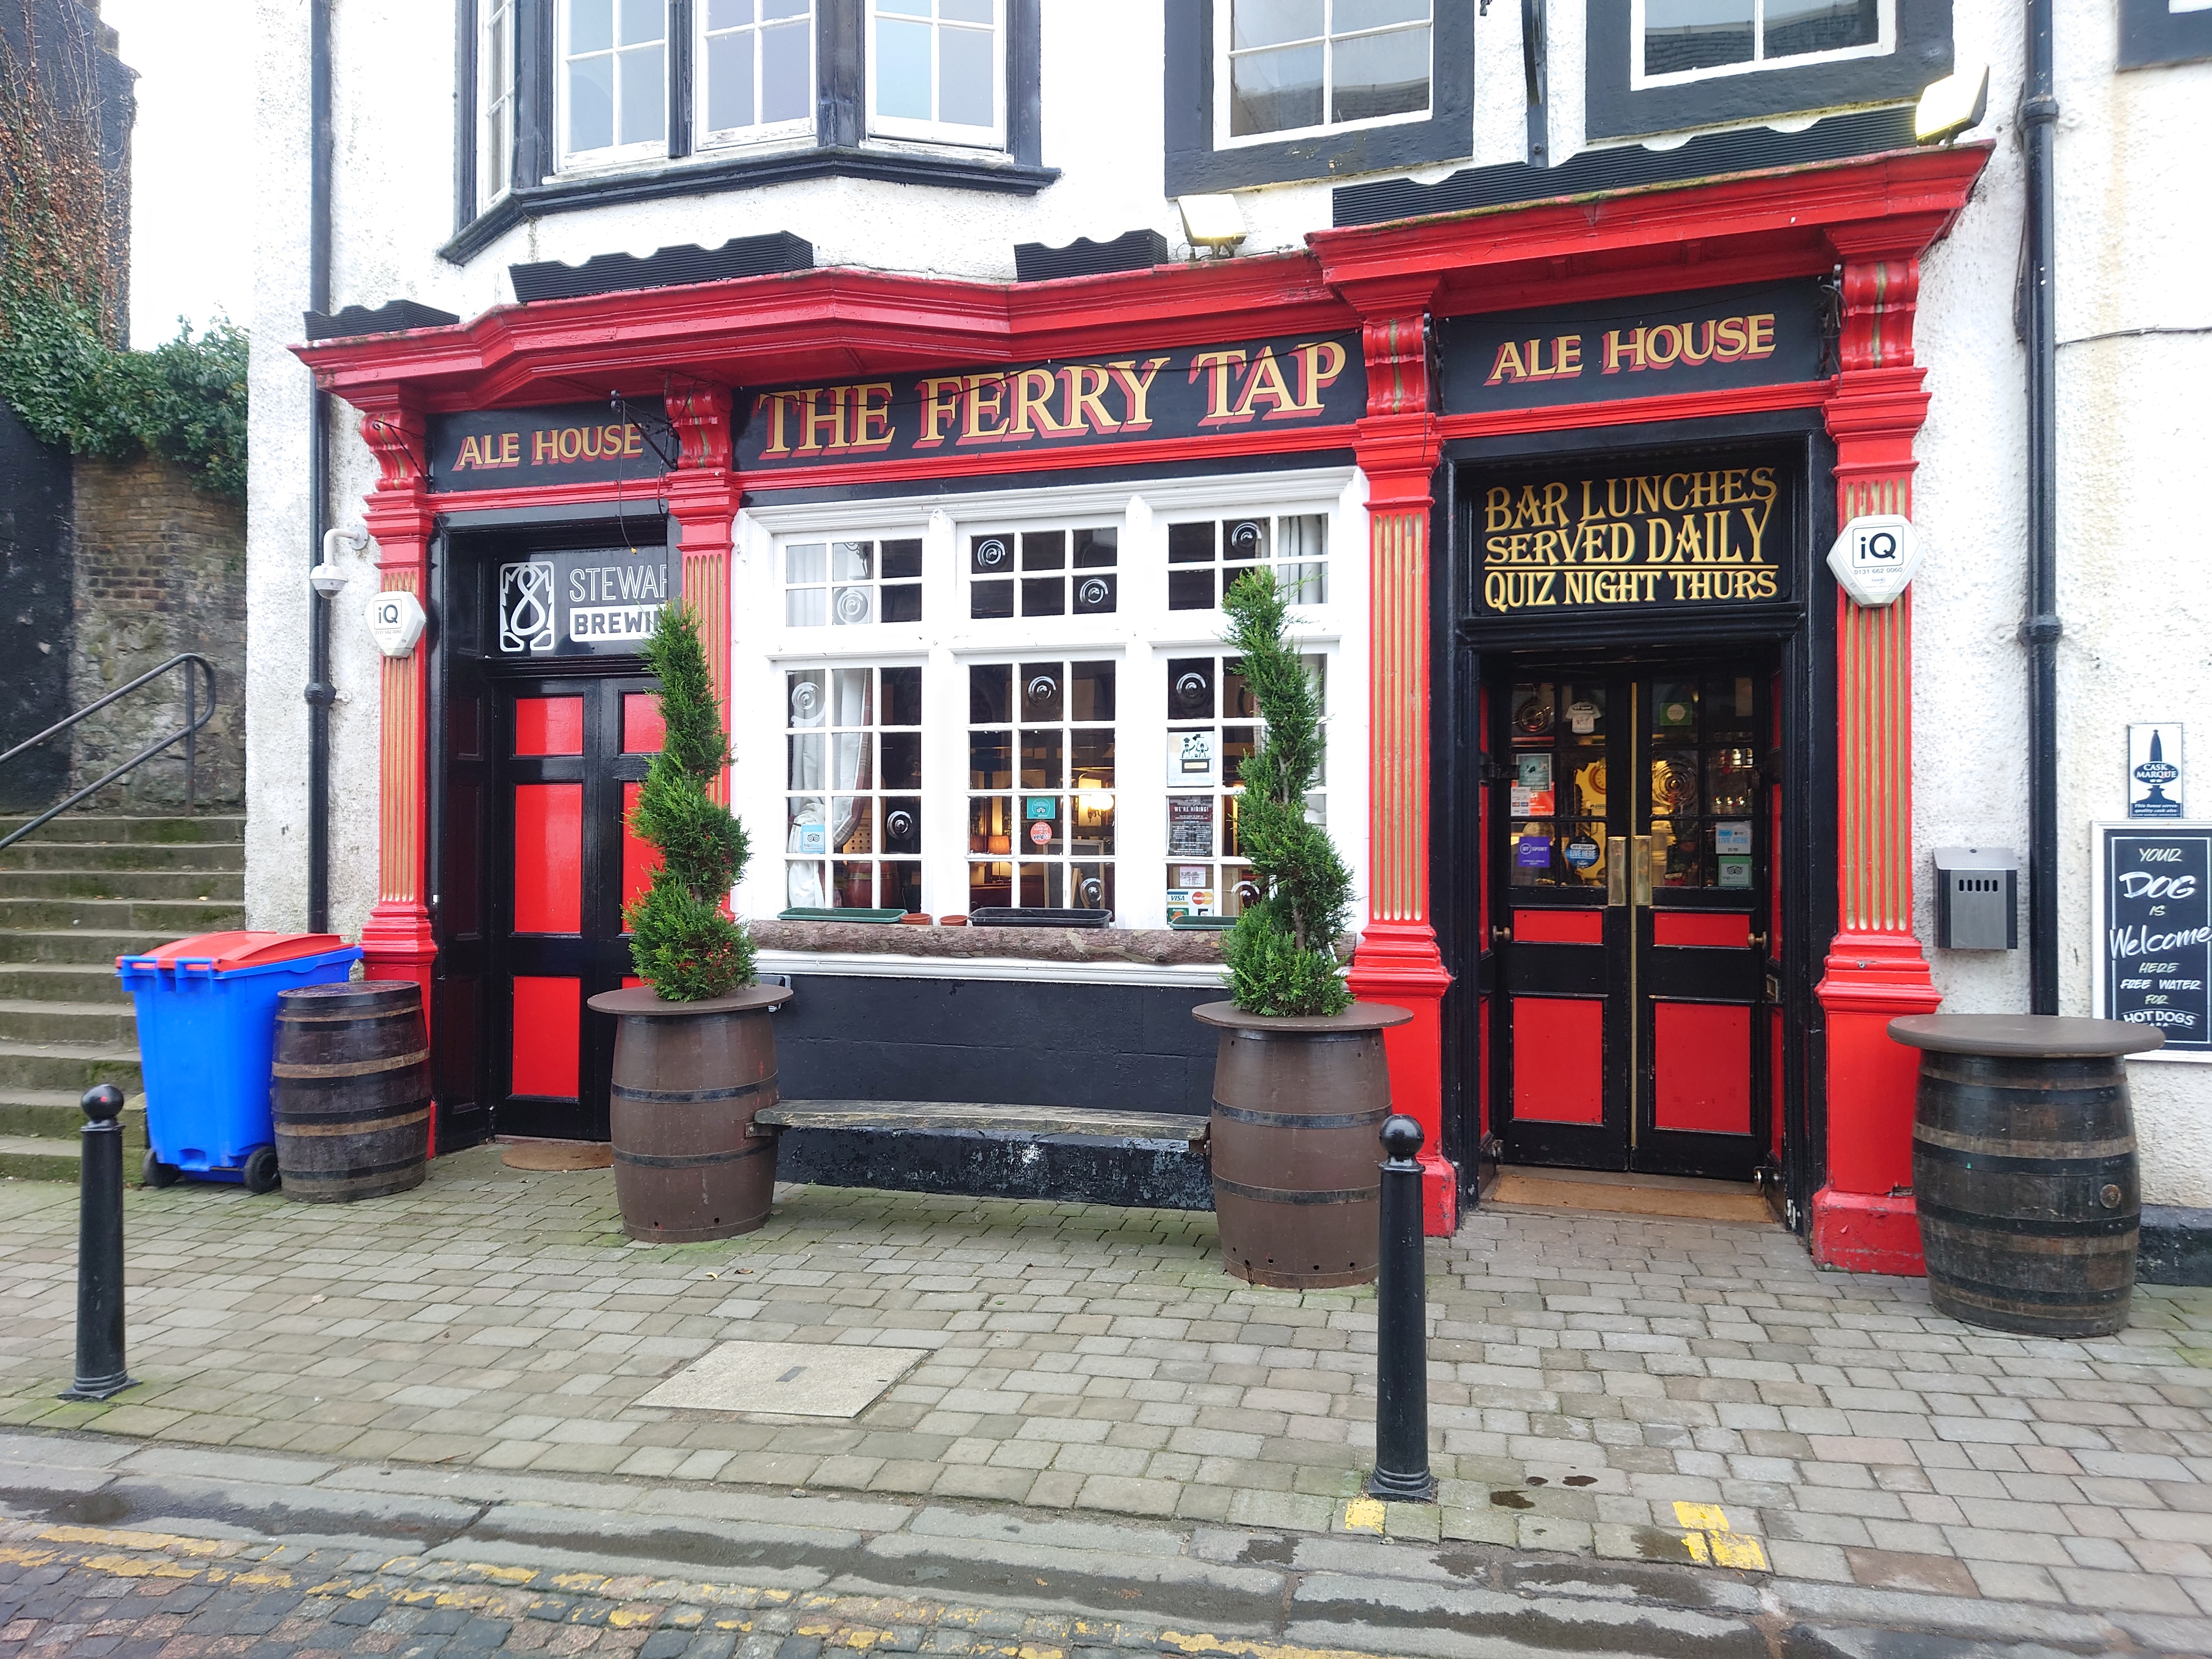
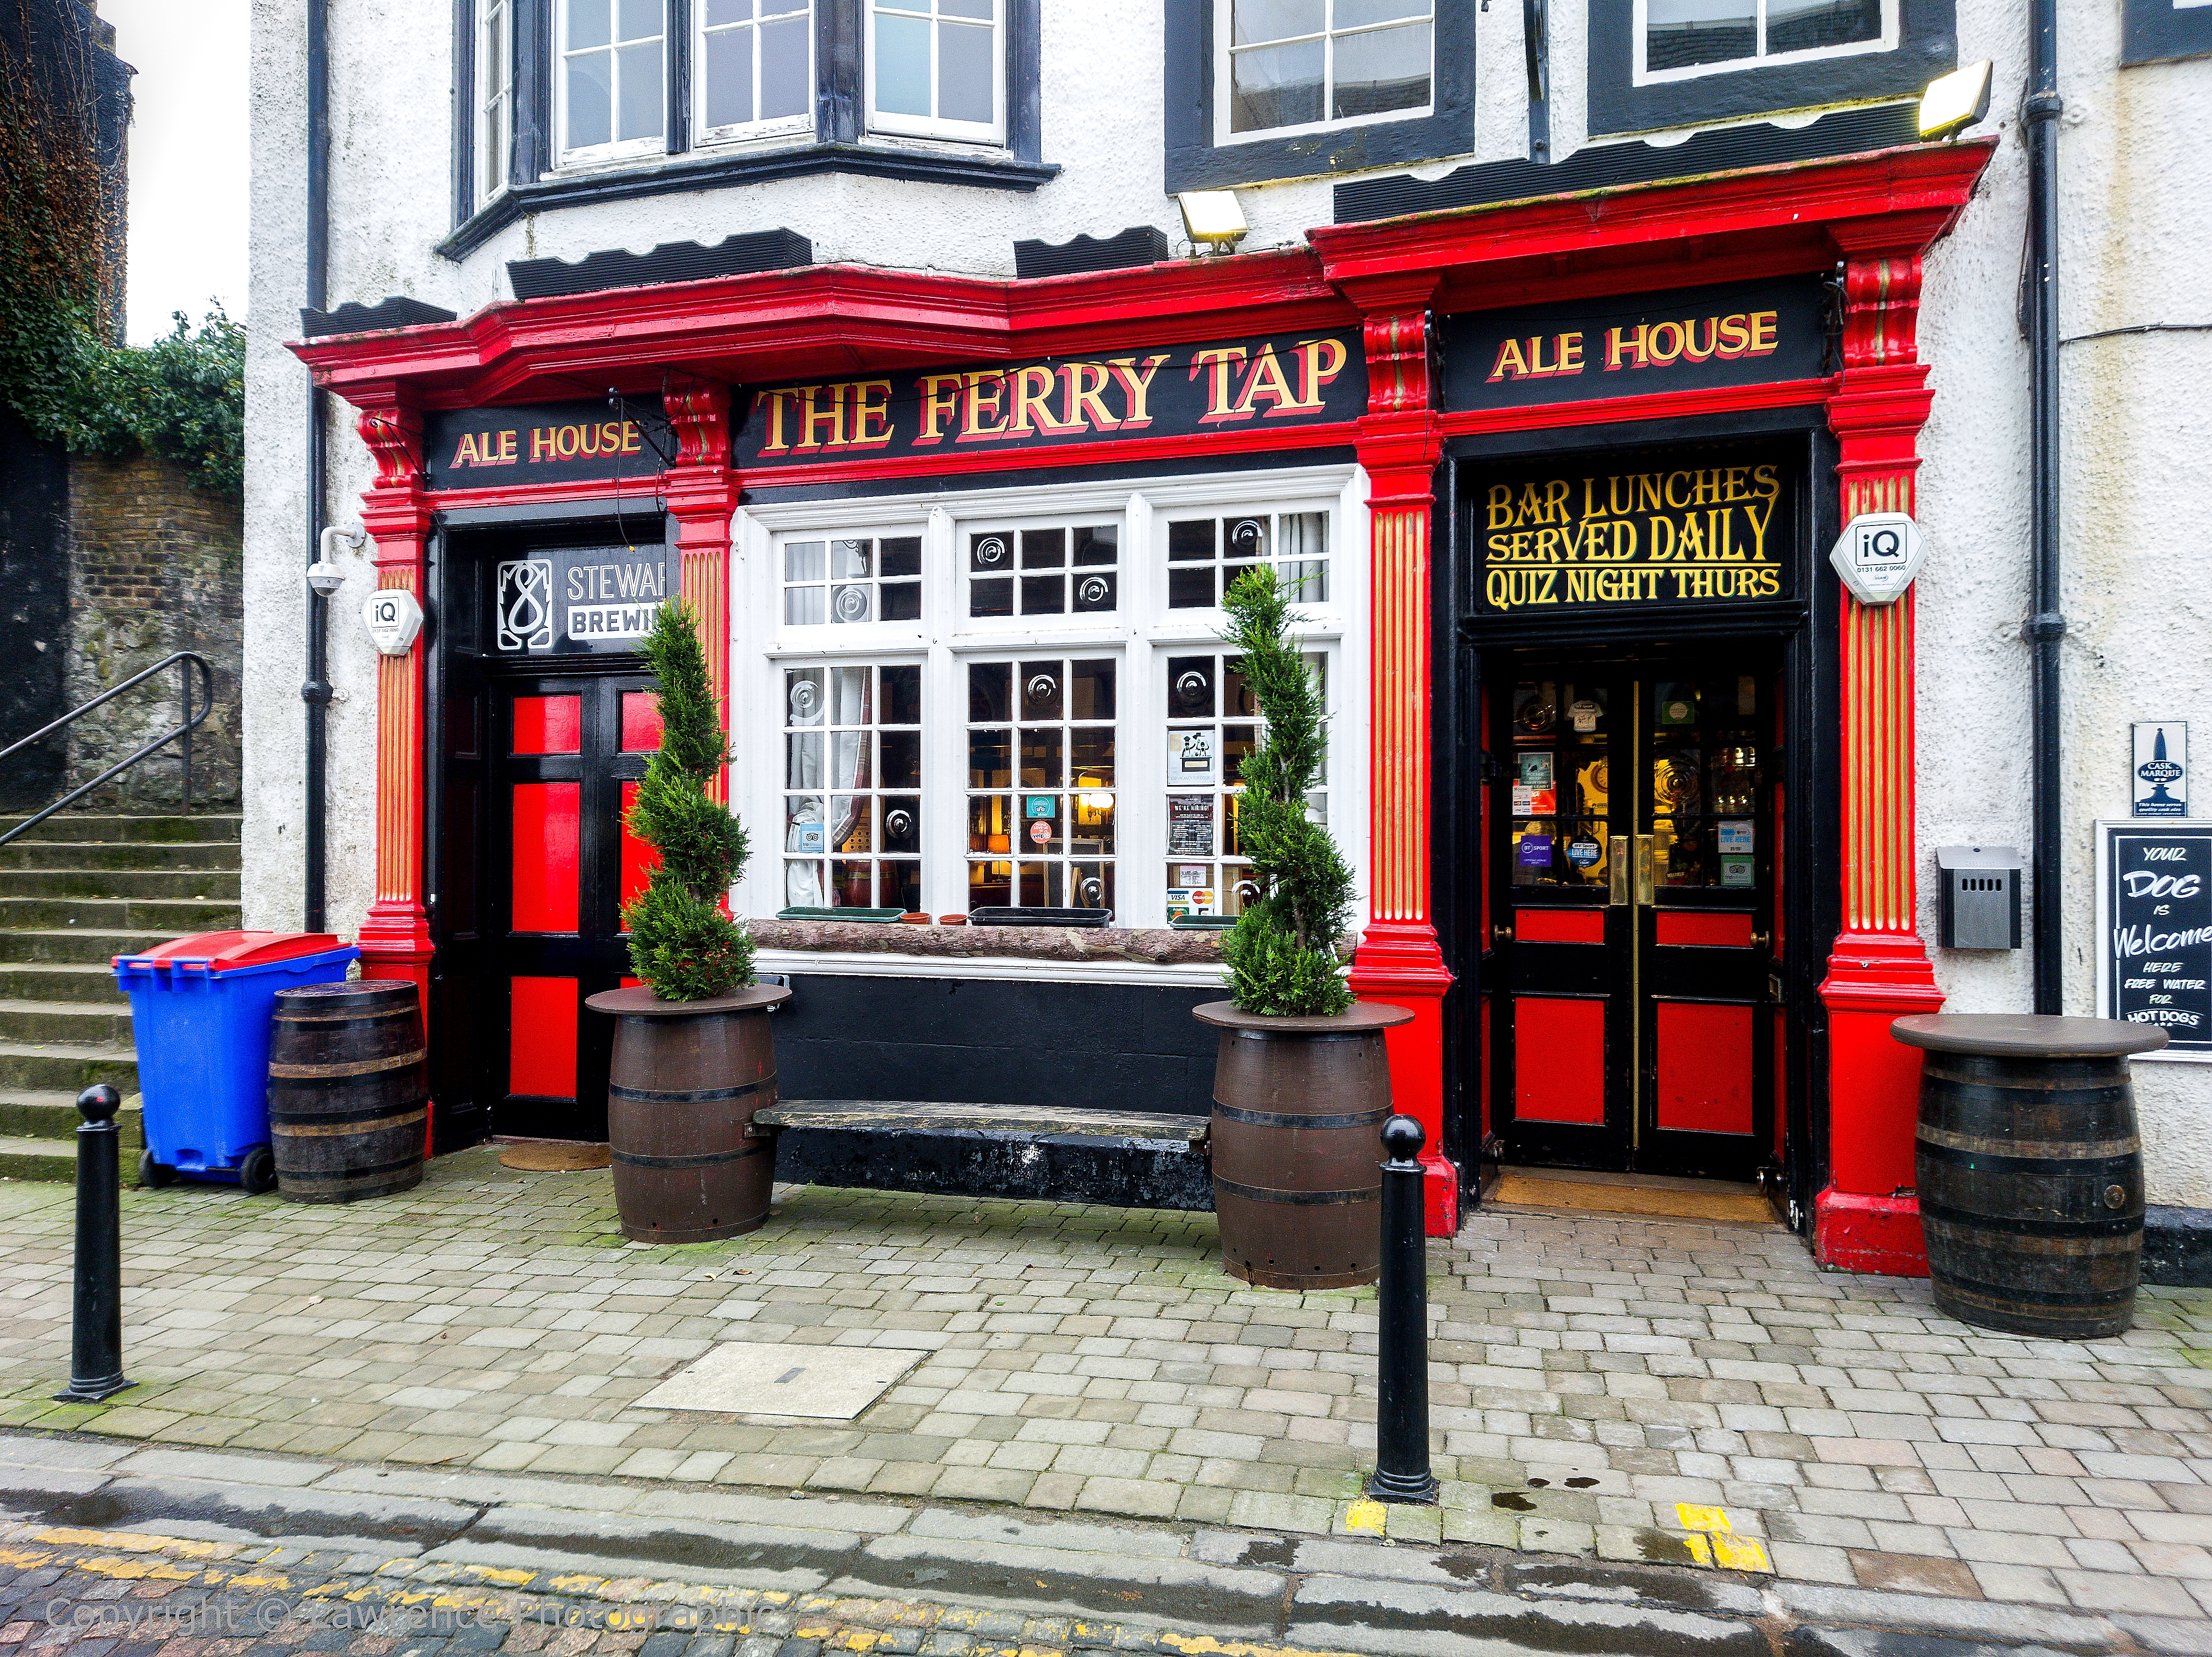
the DNG to jpeg conversion image. The 'The Ferry Tap' image is very slightly
overexposed and if you compare the camera jpeg to it's partner,
the tweaked DNG to jpeg conversion, you can see that the high
wall at the left drainpipe and the building next door to the left
in the camera jpeg, are
slightly blown whereby the image quality, the contrast and the definition of the
wall is weaker. (You can open up the images, side by side)
Camera Jpegs
Lightroom (DNG to Jpeg) Conversions
Lens 16mm
Lens 24mm
Lens 105mm
- DNG RAW Conversion to Jpeg
The original DNG
RAW file was in colour and converted to monochrome using
Adobe Lightroom.
Adobe Lightroom RAW to Jpeg
Web (Conversions)
I have edited the DNG (RAW)
files in Adobe Lightroom and
in it's RAW form, a DNG file
is the unedited version of a
camera processed jpeg. The
16mm/24mm images have had
their (skewed inward) edges
re-aligned vertical, as much
as possible. The light in
the dark foregrounds have
been lifted and other very
slight modifications made to
reduce any harsher
highlights and to increase
the contrast, clarity
settings. In virtually all
cases, the saturation was
more than adequate.
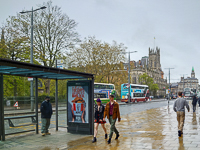
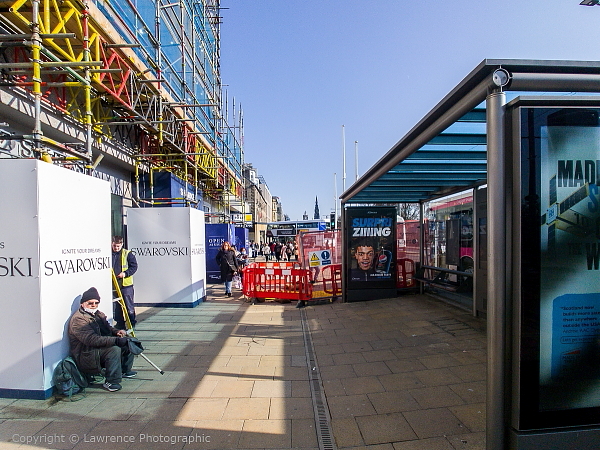
When using the 16mm/24mm
lenses and you later intend
to post process a DNG file
(or a camera jpeg) to re-align the edges to
vertical - remember to shoot
even wider when possible
(step back) as any editing
will crop the final image.
In the image below, I have
lost the foot of the bus
shelter at the front/right
which was in the original
image.
Please click on the 16mm image
below to open up the Sony Xperia 5 III Web.
Fitness Watch
I chose the
Amazfit GTR 3 Pro Watch
to accompany
my new phone and I
downloaded the Zepp Fitness
App for my phone to record
my health progress.
It was a very simple
installation, I set up an
account with Zepp and
paired the watch to the App.
I
intend to use the GTR 3 Pro for
walking, running, cycling and when
out and about on my
motorbike. It provides good health monitoring,
especially for my heart.
Watch the review video below
from Gadget Match -
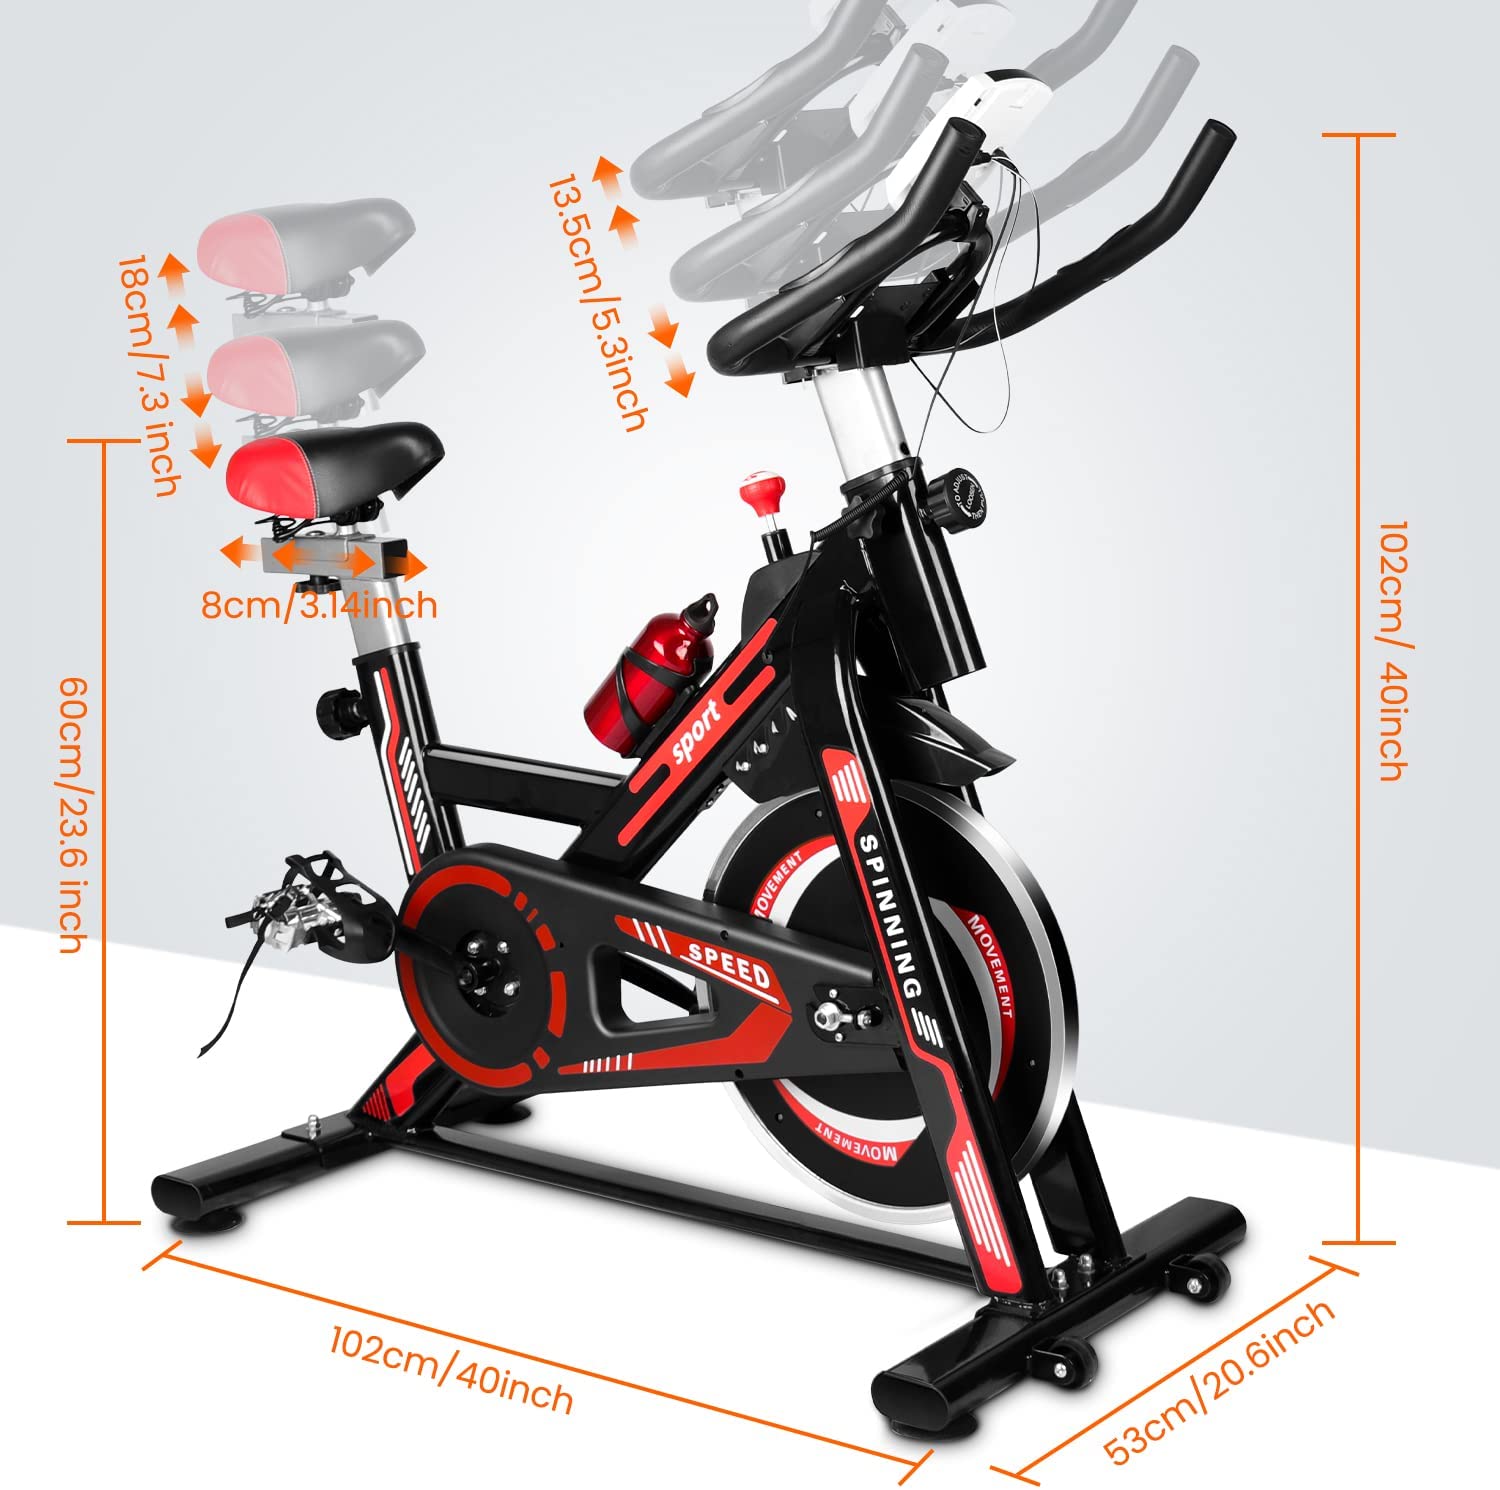
Jupgod Indoor Exercise Bike
+ Cycling Video
Thanks to the advice of a good friend for an indoor exercise
bike and videos to watch whilst exercising, I splashed out on a
Jupgod Exercise Bike and it
has a LCD screen for tracking my vitals. It also has a holder
for my phone which I will use for virtual cycle trips and music
as in the video below. Although it will probably take a month to
cycle the distance in the video -
If this article has assisted you in any way - please donate to my
Charity of Choice - The Sick Kids